
Sixteen square feet of renovation
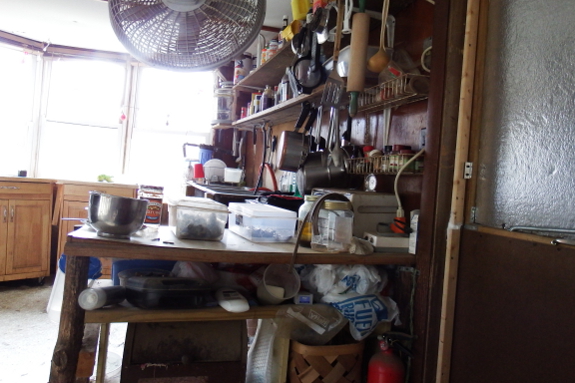
One of Mark's wish-list
projects for the winter was remodeling the part of the kitchen shown
above. This ramshackle conglomeration of warped counter, old sticks, and
bookshelf came about when I proudly decided to tackle home repair on my own
while Mark was busy elsewhere. It long ago became a part of the scenery
that I didn't even notice, but it drove my poor husband crazy. So I
gave him $60 and said, "Let's see what you can do with that!"
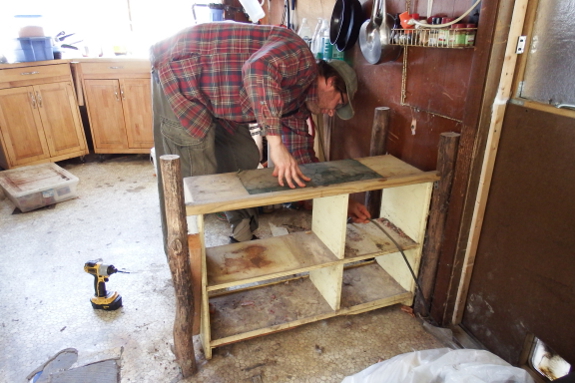
The first step was
tearing apart all of the old kitchen area. I moved supplies elsewhere,
then Mark made short work of the screws and brackets.
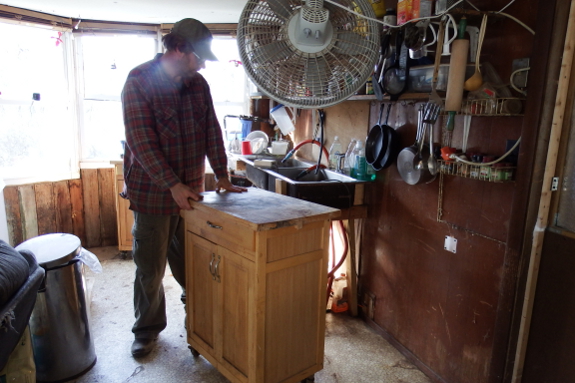
Before heading to Lowes, we measured the newly opened space, figuring we'd move one of our rolling islands in to fill part of the area. Mark took off the towel rod and hinged counter-extender, then the island fit perfectly as-is.
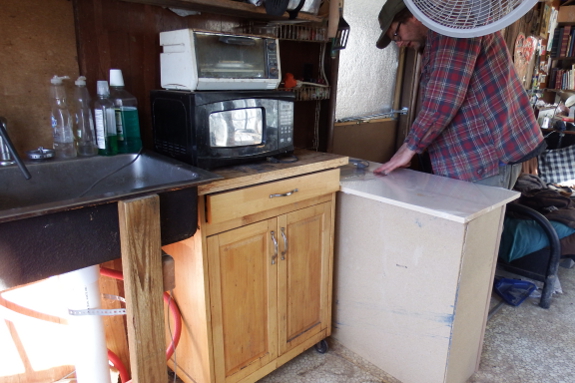
The real score was the
little cabinet Mark's looking at in the photo above. It was slightly
chipped and was thus marked down to 50% off. Take away Mark's additional
10% veteran's discount and he was able to also include the quality
counter-board he has his hand on within my proposed budget as well.
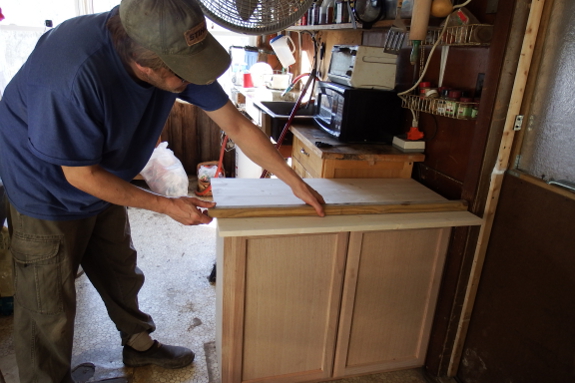
I believe the board was
$15 before Mark's discount, and it's a nice, hefty piece of wood well
worth the price. Real home remodellers would stain both the counter and
the cabinet, I know, but Mark and I are pretty simple. We don't put use
this particular counter for cooking --- more for utensil storage and
dirty dishes stacking --- so it should be fine as untreated wood. We
did, however, cut off a few inches so I wouldn't bang my hip into the
corner every time I came in the door.
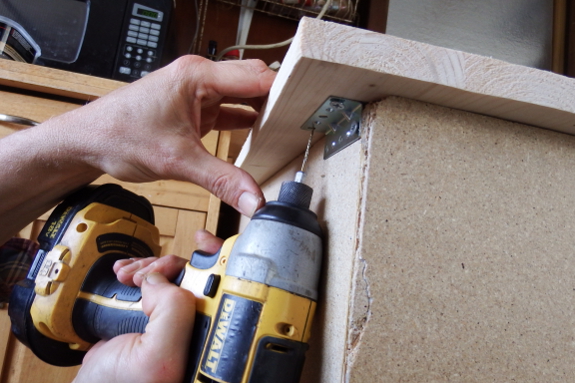
Finally, Mark attached
the board to the cabinet with a few brackets, then it was time to start
putting kitchenware and food away. All told, phase one of the project
only took us about two hours, and most of that time I was standing
around twiddling my thumbs. (By the way, you can see the cosmetic damage
to the cabinet that caused the price reduction in the photo above.)
We still need to find
spots for a spice rack and a few pots that Mark had to move out of the
way to install our new cabinets, but that's a project for another day.
In the meantime, I'll enjoy the sight of fresh, clean cabinets...until
they fade back into the scenery and I forget about them once again. I'm
hoping Mark's hedonistic adaptation goes more slowly so he gets his full sixty dollars worth.
Want more in-depth information? Browse through our books.
Or explore more posts by date or by subject.
About us: Anna Hess and Mark Hamilton spent over a decade living self-sufficiently in the mountains of Virginia before moving north to start over from scratch in the foothills of Ohio. They've experimented with permaculture, no-till gardening, trailersteading, home-based microbusinesses and much more, writing about their adventures in both blogs and books.
Want to be notified when new comments are posted on this page? Click on the RSS button after you add a comment to subscribe to the comment feed, or simply check the box beside "email replies to me" while writing your comment.

Chris --- Well, I'm easy to please. If it's functional, it suits me.
Rebecca --- Thanks so much for taking the time to say that! I was wondering about that. Sounds like we do need to add a sealant/caulking after all.