
How to process wild clay
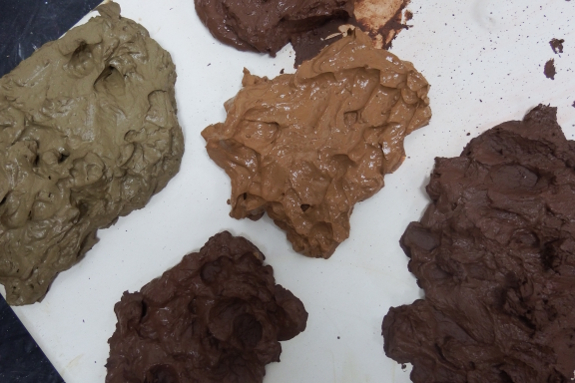
Jenn and I attended a
fascinating workshop at the Dairy Barn Saturday about digging clay out
of the earth and turning it into pottery. I was surprised to learn how
simple it is to process wild clay...although the techniques can be
quite time-consuming.
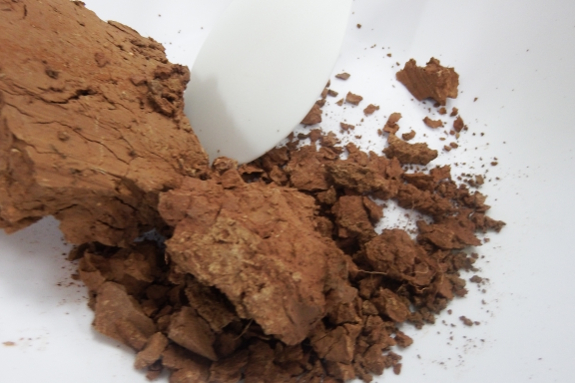
The first step is to
collect your clay. For best results, gather clay from within twenty
inches of the surface since this weathered clay will do better. You're
likely to find gray clays under coal seams and red clays elsewhere.
Both are good pottery clays if you live in our area.
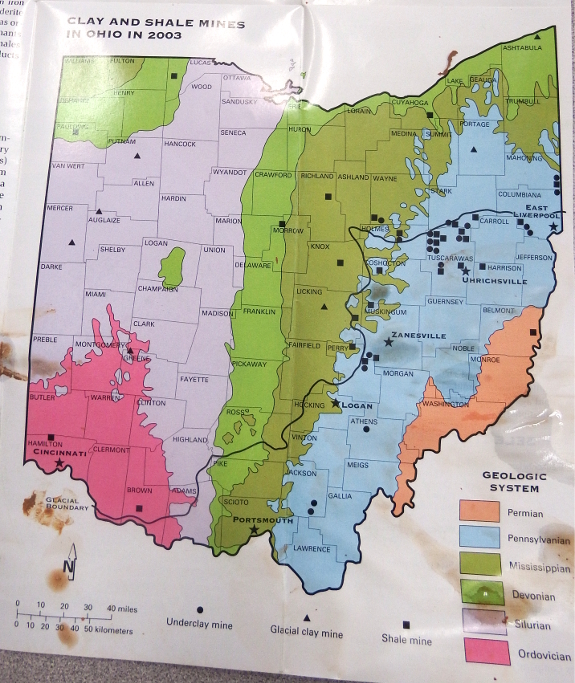
In fact, I was surprised
to learn that southeast Ohio is the clay capital of the world! Over
half the pottery made worldwide in the last one hundred years began as
clay in Ohio soil.
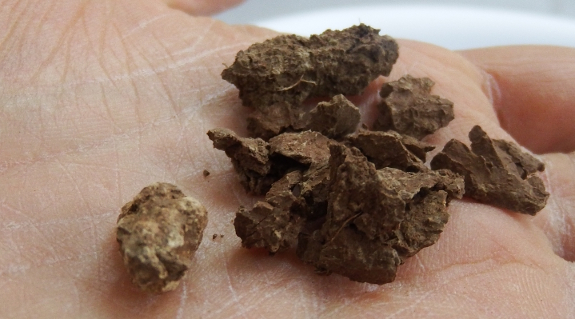
Okay, geography lesson
over. What do you do with your wild-sourced clay?
First, let it dry out
thoroughly. Then break the big lumps into smaller pieces, removing
pebbles and roots in the process. The most important pieces to take out
are small inclusions of limestone (the paler lump on the left in the
photo above) since limestone messes with the moisture content of clay
and can cause explosions in the kiln.
Breaking up the clay can
be done with your hands or with a hammer on the small scale. On a
larger scale, you'll want to use a hammermill of some sort.
Next, you'll have to
choose whether to wet-screen or to dry-screen your clay. Wet screening
is safer --- inhaling clay dust can make you very sick. But dry
screening is much easier to mechanize and perform in bulk using a
20-mesh screen shaken by an off-balance motor.
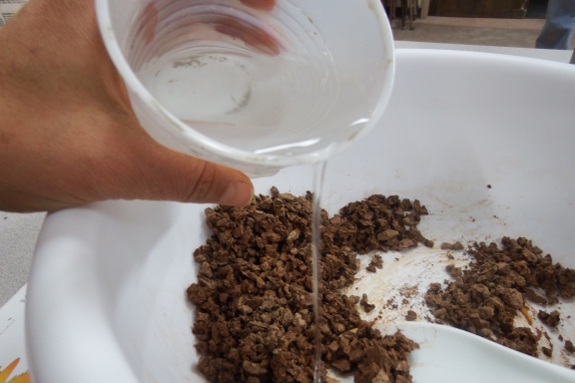
We wet-screened in our
workshop. First, add water...
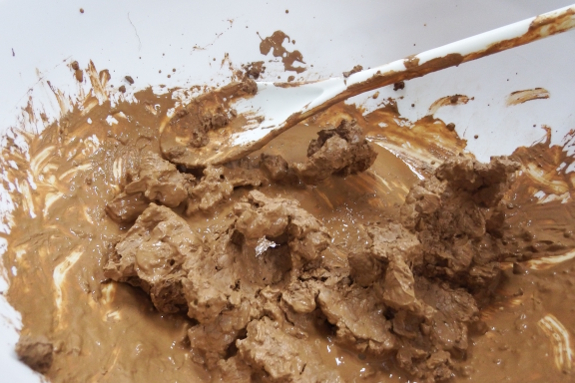
Then mix with a spoon or
by hand. By hand is messy but much more effective.
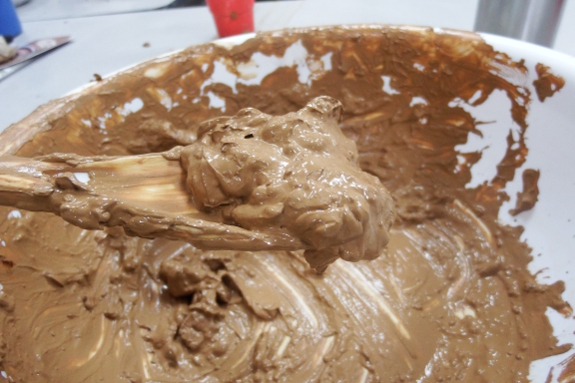
Your goal is to achieve
milkshake consistency, working all of the little lumps into the main
mass of clay. On a medium scale, you can do this mixing in a bucket
with a dry-wall mixer drill attachment a
bit like this. Or
just squeeze it through your fist over and over on the small scale.
As a side note, if your
clay isn't very dry, it's actually much harder to moisten thoroughly.
In this case, drop the clay in a bucket of water and leave it for a few
days to soak up the liquid rather than trying to force water in quickly.
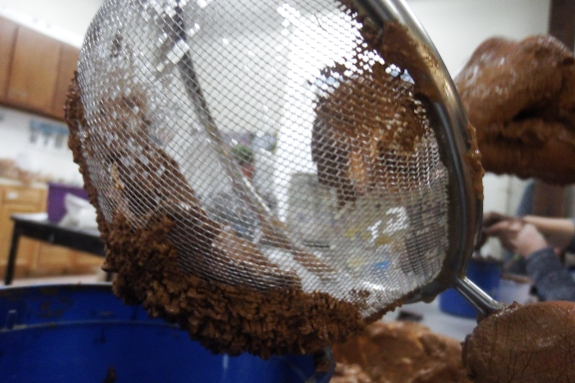
Now it's time to pass
the wet clay through a screen to pull out the last of the rocks and
roots. I found that it's easiest to press the wet slip through the
sieve with my fingers.
Then put the screened
clay on a board to dry somewhat (as in the photo at the top of this
post) and it's ready to use in hand-building, brick-making, or thrown
pottery. Our teacher suggested firing at cone 04 for most clays in our
area.
How about you? Have you
ever processed wild clay?
Want more in-depth information? Browse through our books.
Or explore more posts by date or by subject.
About us: Anna Hess and Mark Hamilton spent over a decade living self-sufficiently in the mountains of Virginia before moving north to start over from scratch in the foothills of Ohio. They've experimented with permaculture, no-till gardening, trailersteading, home-based microbusinesses and much more, writing about their adventures in both blogs and books.
Want to be notified when new comments are posted on this page? Click on the RSS button after you add a comment to subscribe to the comment feed, or simply check the box beside "email replies to me" while writing your comment.
- Remove comment
- Remove comment
