
How to make a cold frame
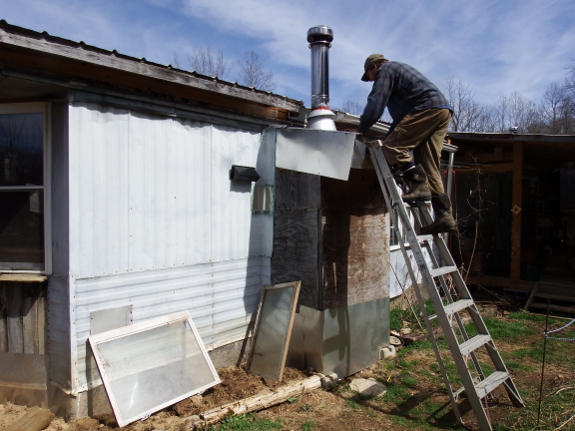
I've used both quick hoops and cold frames in the past, and usually prefer the latter. However, now that we've finally skirted around the front of the trailer,
I couldn't help thinking that the sheltered, warm spot would be perfect
for a glass-covered cold frame to house flats of cabbage, broccoli, and
onion seedlings while they wait for safe outdoor-planting time. The
area is close enough to the front door that I won't mind opening and
closing the lid daily during sunny spells, and it'll also be pretty
simple to carry the flats inside if we hit a really cold spell. So when
Mark found two large, double-glazed windows in the barn, I figured the
cold frame was fated to be!
The first step of
building our new cold frame was checking to make sure we'd still be able
to get up on the roof to clean out our chimney. Now that I have a
grapevine on the right side of the wood-stove alcove and a cold frame on
the left, Mark will have to go up the front. Luckily, he says the
ascent is feasible...as long as I hold the ladder.
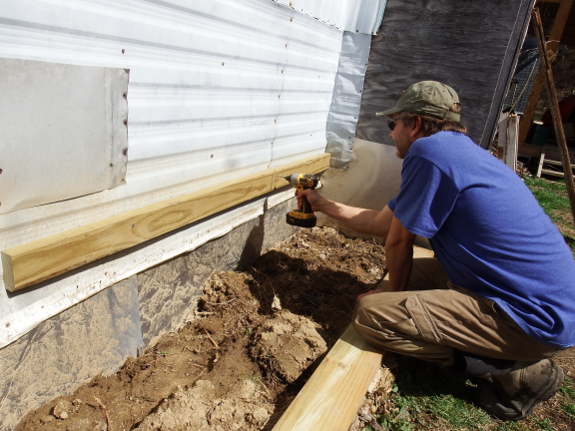
This area is a relatively
easy spot for cold-frame construction since two sides of the cold frame
can simply butt up against the existing building. Mark attached a
two-by-four along the trailer to support the windows...
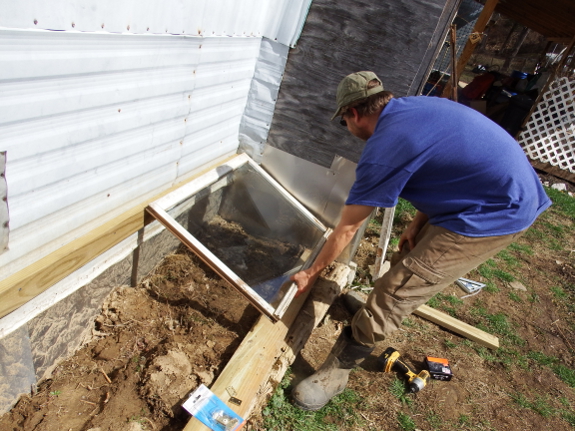
...Then hinged the first window into place. (Thanks for the hinges, Rose Nell!)
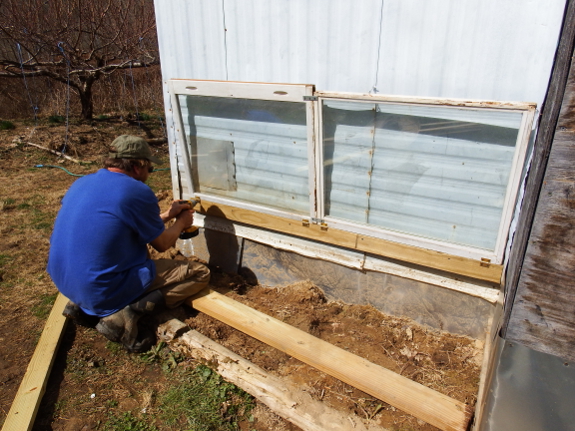
After adding the second
window, we realized that the two windows bumped against each other when
closed all the way. Although we could have tweaked the hinge arrangement
slightly to prevent this issue, Mark instead used metal brackets to
attach the two windows together into one solid piece. In addition to
fixing our slight mismeasurement, that arrangement also made it easy to
hold both windows open with a single screen-door hook on the side of the
trailer.
Next, we used a
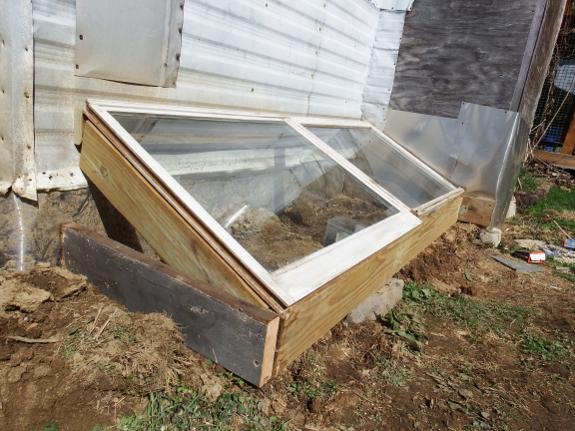
two-by-six to form the front wall of the cold frame. Slanting the glass
from an 18-inch-high back to a 5.5-inch-high front should help the cold
frame collect more winter sun. But the angle did
make it tough to determine the location of the two-by-four support on
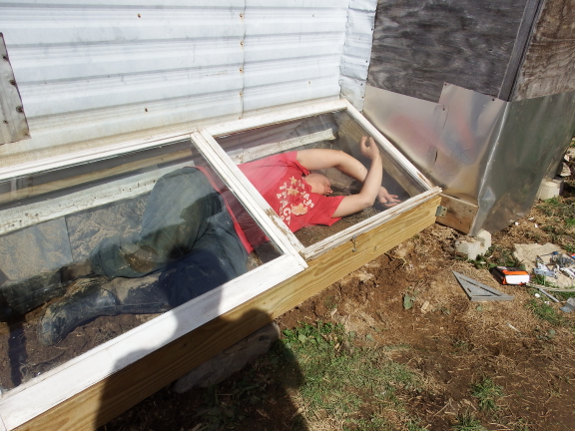
the right side. "Oh, that's easy," Mark said. He lifted up the window
glass and motioned me inside to mark and hold the support board.
The left side of the cold
frame involved building a triangle out of wood, which we opted to do
the easy way. We used the end of the two-by-six that had formed the
front of the cold frame to butt up against the window on the top, then
cut segments of an old door (thanks, Sheila!) to fill in the gap left
behind.
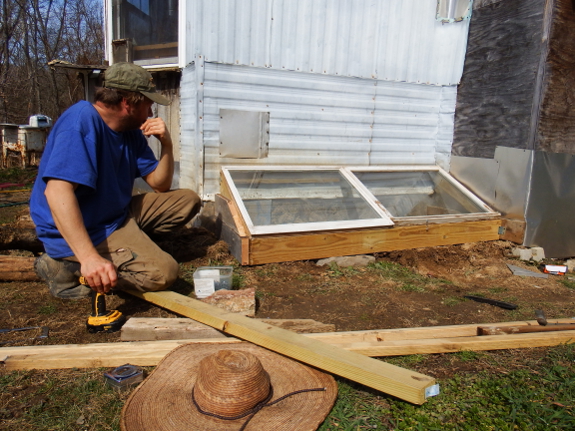
We've still got a little
work to do filling in gaps and painting the untreated wood, but the cold
frame is nearly ready to go after just a couple of hours' work. I've
got a max-min thermometer
in there now to test the waters and can hardly wait until we reclaim a
bit of our kitchen table from the cold-hardy seedlings. Right now,
there's barely enough room to fit two plates into the section the plants
left behind....
Want more in-depth information? Browse through our books.
Or explore more posts by date or by subject.
About us: Anna Hess and Mark Hamilton spent over a decade living self-sufficiently in the mountains of Virginia before moving north to start over from scratch in the foothills of Ohio. They've experimented with permaculture, no-till gardening, trailersteading, home-based microbusinesses and much more, writing about their adventures in both blogs and books.
Want to be notified when new comments are posted on this page? Click on the RSS button after you add a comment to subscribe to the comment feed, or simply check the box beside "email replies to me" while writing your comment.

Wonderful idea!
I'm thinking I'll take your idea one step further & add an open-able flap or two on the back wall to let heat under my tiny house. Love that dual-purpose!