Home-propagated oyster mushroom spawn
 We
haven't made much progress on our goal to propagate our own mushroom
spawn because this year's hot summer wasn't conducive to mushroom
fruiting. So when I found wild
oyster mushrooms, I
decided to give propagation a shot even though I knew that spring was
the best time to propagate mushrooms. I cut the stem butts off
all three of our oyster mushroom clusters and sandwiched
them between several layers of pre-soaked, corrugated cardboard.
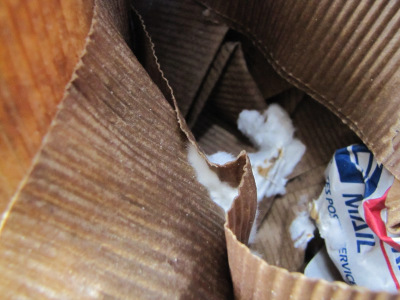
Ten days later, the
mycelium was running! I suspect that if I waited another week, I
would have had a whole bowlful of spawn, but I wanted to get the
mycelium into its final habitat so that it would have some time to get
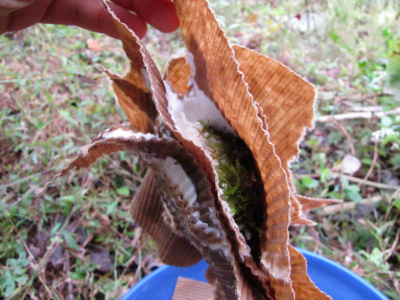
established before winter. So I tore off all of the  white
spawn, then discarded the un-inoculated cardboard around the
edges. Look at this mass of spawn gluing several sheets of
cardboard together --- that's a healthy fungus!
Next step was choosing
something to inoculate. In the past, we've had good luck with inoculating logs, but I've been curious about
inoculating
stumps as a way of
hastening decomposition while producing a delicious food. We have
plenty of stumps in our garden area, but most are too old to inoculate
--- wild mushrooms have beat me to it. Luckily, Mark
cut down a magnolia this spring to give me space for forest
pasture trees, and the stump has sprouted a bush of new branches.
I hope the vigor of the tree means that it was able to fight off
invading fungi between April and October, but that the tree has lost
enough life that it won't be able to kill my oyster mushrooms.
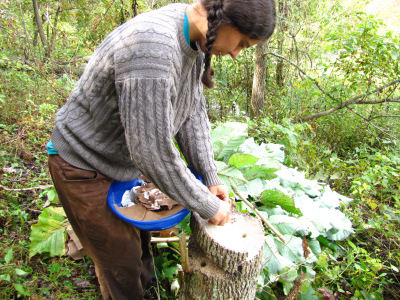
 Mark
already showed you the inoculation
step --- drilling the holes, stuffing in the spawn, then sealing
each one up with melted beeswax. Our three stem butts turned into
enough spawn to fill up a dozen holes, and I even had one huge stem
butt leftover to bury in the soil at the base of the stump. Maybe
next fall we'll be harvesting completely homegrown oyster mushrooms!
Want more in-depth information? Browse through our books.
Or explore more posts by date or by subject.
About us: Anna Hess and Mark Hamilton spent over a decade living self-sufficiently in the mountains of Virginia before moving north to start over from scratch in the foothills of Ohio. They've experimented with permaculture, no-till gardening, trailersteading, home-based microbusinesses and much more, writing about their adventures in both blogs and books.
Want to be notified when new comments are posted on this page? Click on the RSS button after you add a comment to subscribe to the comment feed, or simply check the box beside "email replies to me" while writing your comment.
- Remove comment
- Remove comment
