Covering the bee covers with flashing

 Mark had all the tools laid out around the
chicken tractor, so I decided to finish up my bee box exterior
covers. The result is very serviceable, but I wish I'd taken the
time to measure and bend the flashing a bit more carefully --- the
picture on the lower left shows what happens when you bend your
flashing wrong and have to rebend it....
Mark had all the tools laid out around the
chicken tractor, so I decided to finish up my bee box exterior
covers. The result is very serviceable, but I wish I'd taken the
time to measure and bend the flashing a bit more carefully --- the
picture on the lower left shows what happens when you bend your
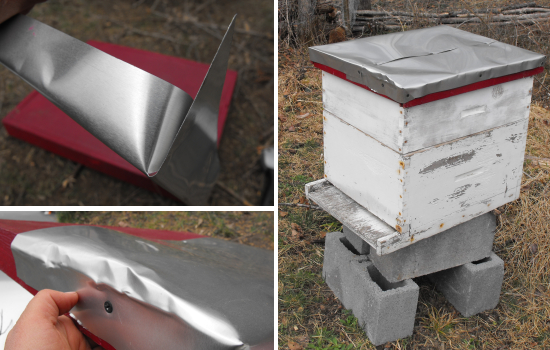
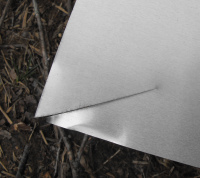
flashing wrong and have to rebend it....You can probably guess what I did from the photos, but if you can't --- first, I cut two pieces of flashing a bit longer than the length of the exterior cover. I made a small cut in two of the corners (shown at right) and then bent the flaps over to make a corner (top left). As I went along, I realized that the sharp corners were potentially hazardous, so I folded them under a bit. Then I screwed the flashing onto the top of the cover, and repeated with another piece on the other side. Our bee box is nearly ready for bees!
Want more in-depth information? Browse through our books.
Or explore more posts by date or by subject.
About us: Anna Hess and Mark Hamilton spent over a decade living self-sufficiently in the mountains of Virginia before moving north to start over from scratch in the foothills of Ohio. They've experimented with permaculture, no-till gardening, trailersteading, home-based microbusinesses and much more, writing about their adventures in both blogs and books.
Want to be notified when new comments are posted on this page? Click on the RSS button after you add a comment to subscribe to the comment feed, or simply check the box beside "email replies to me" while writing your comment.
Add a comment
