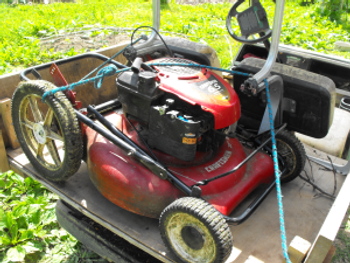
Briggs and Stratton flywheel removal
Working on a tip I got from
the local hardware store last week I went out this morning in search of
the Flywheel Wizard. I was not only lucky enough to see him without an
appointment but was able to record the short sequence of events that
needs to transpire before the flywheel will finally yield its secrets.
It was a father and son team,
and I asked them about flywheel puller tools. It seems they both agree
that a special tool is needed if you're an amateur, but if you perform
each step with care the old pry bar and hammer trick
will work without doing any damage.
What you need is:
- long, hard screwdriver/prybar. (20 dollars)
- heavy mini sledge hammer. (20 dollars)
- replacement flywheel nut.(?)
- someone to help apply pressure to opposite side.
- flywheel shaft key

The flywheel nut should be positioned at the very top of the flywheel shaft so it will receive the
brunt of the hammer pounding which helps to protect the flywheel shaft
threads.
What you don't see in the
short video is the flywheel nut being replaced due to something going
wrong. I suspect he should have had his Dad pulling since the first
hammer hit.
The Wizard only charged 18
bucks and had me on my way within minutes.
Want more in-depth information? Browse through our books.
Or explore more posts by date or by subject.
About us: Anna Hess and Mark Hamilton spent over a decade living self-sufficiently in the mountains of Virginia before moving north to start over from scratch in the foothills of Ohio. They've experimented with permaculture, no-till gardening, trailersteading, home-based microbusinesses and much more, writing about their adventures in both blogs and books.
Want to be notified when new comments are posted on this page? Click on the RSS button after you add a comment to subscribe to the comment feed, or simply check the box beside "email replies to me" while writing your comment.

Really enjoy this blog. There is a lot of great info on this site.
I watched the video on lawn mower flywheel removal that was linked on today's update. I've done quite a bit of work on lawn mowers (used to be my job) and couldn't help but notice something in the video.
The mechanic put the nut back on the flywheel shaft, but it looks like it wasn't down far enough (hard to tell in this video). The top of the nut should be flush with the top of the crankshaft, this helps prevent destroying the nut and the shaft when you smack it with a hammer. You reference having issues with the nut, I suspect that is what happened.
Common symptoms of a sheared flywheel key include low power, very difficult starting, and the pull rope may snap back towards the mower when pulled.
Thanks again for the great blog.