Preparing for the worm bin: Weighing scraps

We got our first
delivery of food
scraps from the local school! As Mark suspected,
once the bulky milk cartons were separated out, the scraps were much
smaller than anticipated. Since we're working the kinks out of
our system, small is good...for now.
 Although
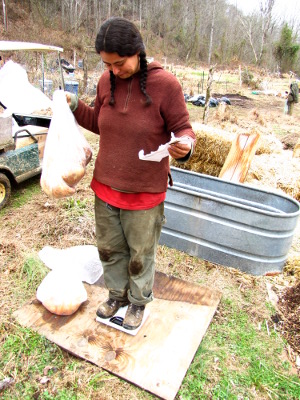
we're excited to get started, we have to get an idea of how much food
we'll get each week before we build the worm bin. We had
originally planned to give the initial round of food scraps to the
chickens after weighing them, but learned just in time that health
department policy says no food scraps from public facilities can be
given to livestock.
That put us in a bit of
a bind, since the only outside area that Lucy knows is off-limits is
the chicken pasture (which is where we usually build our compost
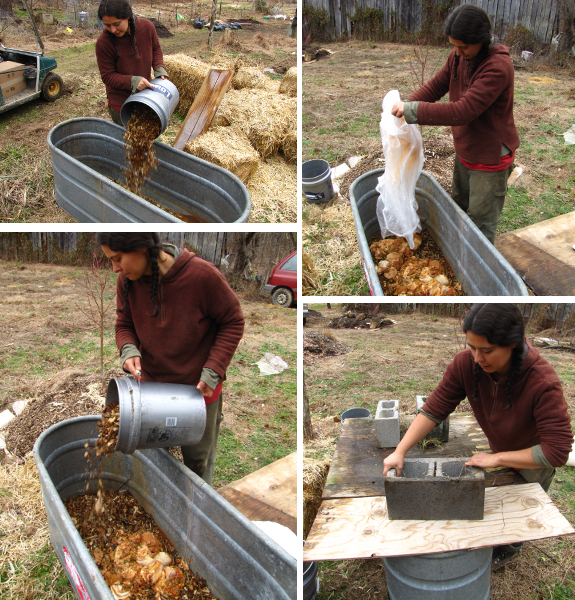
piles.) Luckily, Mark's friend had found a stock tank with a hole
in it at the dump a few months ago and my mom had given us a few pieces
of scrap plywood. Add on some cinderblocks and we had a dog-proof
container with a handy drainage hole at the bottom.
We laid down a layer of
wood chips, dumped the food scraps on top, and topped them off with
another layer of wood chips. So far, we don't have enough data to
make a real estimate, but if we continue to get the same amount of
food, we'll only need a small worm bin --- roughly three feet by four
feet by one foot. I wonder if this will be big enough to get all
of the benefits
of mid-scale worm bins?
Would we be better off building a slightly larger bin? Plenty to
ponder before we make decisions.
Want more in-depth information? Browse through our books.
Or explore more posts by date or by subject.
About us: Anna Hess and Mark Hamilton spent over a decade living self-sufficiently in the mountains of Virginia before moving north to start over from scratch in the foothills of Ohio. They've experimented with permaculture, no-till gardening, trailersteading, home-based microbusinesses and much more, writing about their adventures in both blogs and books.
Want to be notified when new comments are posted on this page? Click on the RSS button after you add a comment to subscribe to the comment feed, or simply check the box beside "email replies to me" while writing your comment.

If it's too small you'll have more trouble than if it's a bit big. You can always put a partition in one that is a bit big but if it's too small any overages can be a big smelly problem. The saying "Go big or stay home" comes to mind and avoid a smelly situation OR, go small and do as the pessimist said "When in trouble, or in doubt, run about scream and shout"
I haven't seen a metal bin before -- won't it be colder in the cold weather and hotter in warmer weather -- leading to slowed reproduction in the first case, and possibly anaerobic conditions in the second?
Also, because the red worms are surface eaters, I think you want to keep initial bedding and food not so deep -- giving them time to eat through that (while still having access to O2 on the surface) before being buried under more food?