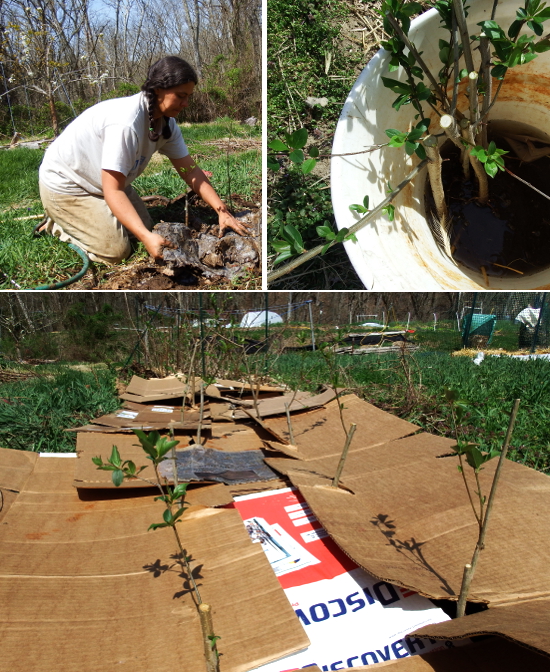
Homegrown plum rootstock

My apple-rootstock stool only produced six rooted shoots for use this spring, but my plum stool
is a major overachiever, cranking out nine husky suckers plus four
smaller shoots that I left behind for later. I set the former out in my
nursery bed just outside the back door where I can keep a close eye on
them.
(After taking the photo above, I added some straw on top of the kill
mulch, and I soaked the ground underneath first...just in case you were
worried.)
My goal is to really learn bud grafting
this year since dormant-grafted plums only had a 25% success rate last
year. Hopefully with nine rootstocks to work with, at least a few will
show success.
Want more in-depth information? Browse through our books.
Or explore more posts by date or by subject.
About us: Anna Hess and Mark Hamilton spent over a decade living self-sufficiently in the mountains of Virginia before moving north to start over from scratch in the foothills of Ohio. They've experimented with permaculture, no-till gardening, trailersteading, home-based microbusinesses and much more, writing about their adventures in both blogs and books.
Want to be notified when new comments are posted on this page? Click on the RSS button after you add a comment to subscribe to the comment feed, or simply check the box beside "email replies to me" while writing your comment.

Here's a trick I learned from our ISU extension horticulturist: Make up a solution of 'semi-hardwood strength' rooting dip. Put the sliced off budding chip from the scion wood in the solution while you cut the T in the rootstock. Put a little solution in/on the budding T. Slip the whole works together quickly and wrap it up. Speed is key. Don't let anything dry out - ever.
I wrap my buds with rubber bands cut open so I have one long rubber wrapping strip. Then I apply grafting wax over the whole works. The new buds will grow right through the wax. (Be sure not to cover the bud with rubber band.)
Oh, and one other thing - maybe most important. Do NOT pull the leaf off the bud on your scion stock. That will kill the bud. Snip off most of the leaf but leave the little stem which will look like a little handle. This helps keep the bud alive while it is growing in.
Never give up!
I'm sort of from the school that says 'blunt force and stubborn persistence often trumps skill and intelligence.' So....
Whenever the rootstock bark is 'slipping' meaning the bark will cleanly and easily peal away from the wood when cut, and when there are nice new swollen buds on the scion stock I start grafting. This usually begins for me after Father's Day. By starting early, I can 'retry' several times through the summer. I budded some peaches last October, and they are looking like some of them might actually have survived. I'm watching daily!
The best results for me are had when I have really nice swollen buds to cut. Watch your scion stock and get those buds to graft just 'before' they push on out to make side branches. They're ready to grow, and they seem to 'take' best in the graft.
I start my T budding low on the rootstock, and if something doesn't take, the next time I move up and around the stock a little. Also, I put a ring of waxed muslin cloth above the graft to sort of 'pinch off' the growth above. This seems to send a chemical signal down to the next viable bud - my graft - that it has to take the lead and grow.
It is an odds game for me. Graft a lot, hopefully something will take. A retired surgeon friend of mine with whom I share gardening and orchard fun doesn't see it that way. He told me his training required him to make every single graft take every single time. He's a surgeon, I'm not. Go with the odds is my best advice.