
Furnishing the summer living room
 I'm
lavishing a lot of love on the greywater
wetland because (with the addition of a porch allowing access to the back
door) that spot will likely become a summer living area. I
figured I should put in a bit of time to plan out the elements I wanted
to include rather than tossing them together willy-nilly.
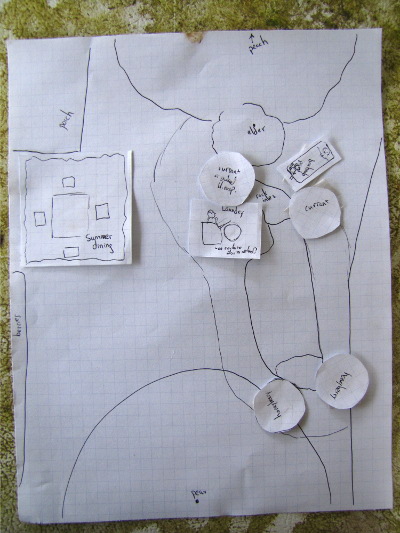
I started out by making
a mostly-to-scale map on graph paper, then cut out a summer dining
area, a laundry nook, and a bathtub. I tossed in some fruiting
shrubs, too, since I have some on the way that can go here just as well
as in the blueberry patch. A bit of moving pieces around resulted
in the diagram to the left.
I decided to start with
the laundry nook, which I'm envisioning as a cobbled area right next to
the greywater wetland. That way we won't have to mow around the
wringer washer any more, and I'll be able to just pour the water onto
the stones to run into the wetland with our dishwater. The result
turned out so pretty that I may be forced to paint our rusting wringer
to fit in.
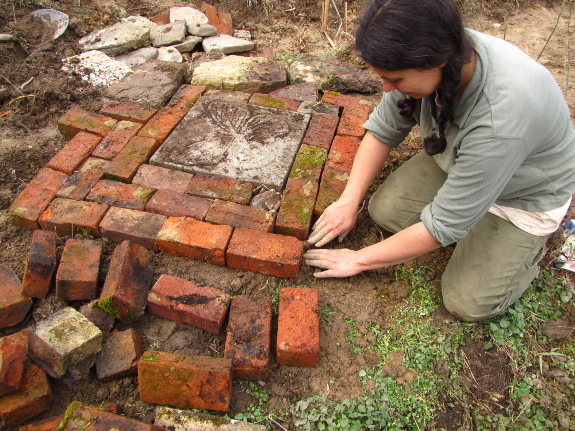
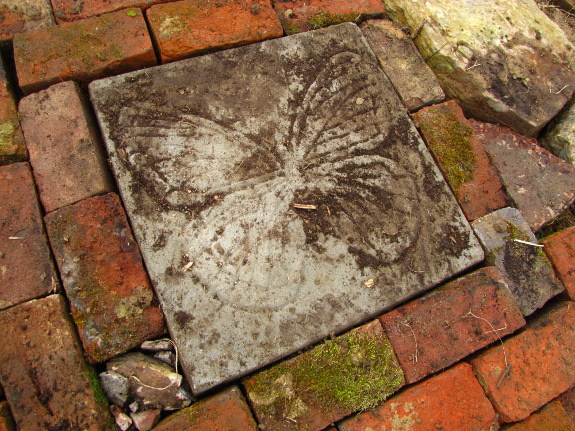
I'm well aware I did
several things wrong with my brick-laying, but I suspect the results
will be just fine. I didn't have enough rocks to go around, so I
used the best-looking hand-made bricks from the old chimney even though
they'll probably crumble with age. I also didn't lay 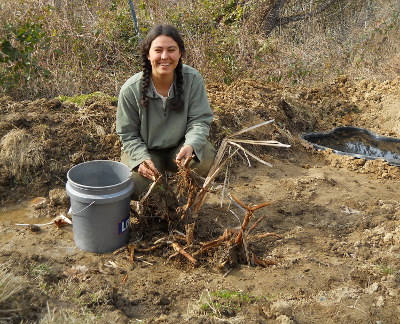 down any sand underneath,
although I did have a pretty even bed of bare soil to work with.
Still, adding big stones from the old house around the edges will
probably hold it all together, and I like the idea of a bumpy,
ancient-looking surface.
The next step was to add
some wetland plants to the damp spot where dishwater enters the
swamp. B.J. did an excellent job finding cattails and horsetails
in the woods from my vague directions, but the other plants weren't yet
showing above the ground. I'll add more species later, to the
pond as well as the swampy ground.
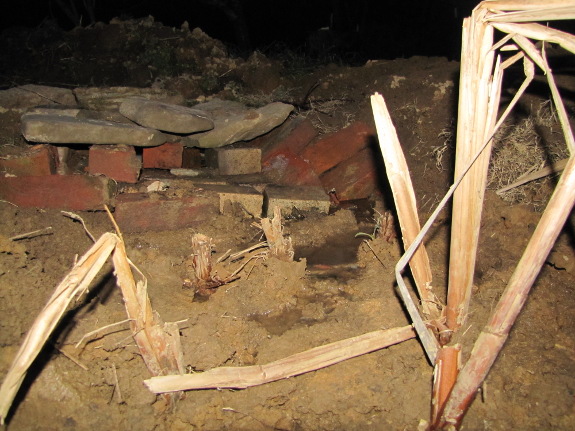
There's lots more fun to
be had with my greywater wetland, but for now I'll close with a photo
showing the night's dishwater running out into the swamp. Yes, it
was already dark so I had to use the flash, but you can see that the
cattails will probably thrive with daily inundations of high-nutrient
water.
Want more in-depth information? Browse through our books.
Or explore more posts by date or by subject.
About us: Anna Hess and Mark Hamilton spent over a decade living self-sufficiently in the mountains of Virginia before moving north to start over from scratch in the foothills of Ohio. They've experimented with permaculture, no-till gardening, trailersteading, home-based microbusinesses and much more, writing about their adventures in both blogs and books.
Want to be notified when new comments are posted on this page? Click on the RSS button after you add a comment to subscribe to the comment feed, or simply check the box beside "email replies to me" while writing your comment.

I love the bricks! We made a loose brick walkway to our house in the same way- be prepared for uneven settling. It is always best to tamp the ground as well. Two 2x2s screwed on a good sized round of firewood will do wonders in helping it to stay even longer. But you really should have a base of sand. I really regret not doing it for our walk.
You might consider putting some sand on top of the bricks, and sweeping it around with an old broom to settle into the cracks. It will really lock the bricks into place, and as sand, will still let water down. You will still get the ancient bumpy look, but the footing will be better.
I know you get a lot of rain, so just one more pool probably won't add too much of a mosquito problem...
All in all, it looks nice from the pictures and map. Enjoy greywatering!
Eric --- I actually did dust bits of clayey dirt between the bricks when I was done. Not sure if that'll be better or worse than nothing....
I'm prepared for a very irregular surface, but if I stub my toe and howl I'll be sure to remember you told me so. But I like your method of tamping the ground --- I'll do that next time. (I suspect there will be a next time for the bathtub.)
We have a lot of paved streets here. A lot of the water- sewage- and electricity lines are buried underground here, and paving is much easier to open and cloase than asphalt. The usual way to lay pavement is to compact a layer of rubble (with a plate or roller compactor), put some sand on top and lay the paving on that and tamp it down with the compactor. Built like that is stays stable even with heavy rains and traffic.
BTW, have you seen this walipini greenhouse? If you have a south-facing slope this would be a nice way to use that.
If you make a one-sided pit (where the transparent cover actually goes down to ground level on one side) in a hillside, you should be able to solve the sun angle problem.
And if you use the soil that you'd have to dig out to create the pit to make the top side of the pit greenhouse higher and create side walls, you might be able to avoid the water table issue by reducing the depth you need to cut into the hill.
Of course the method that the people who wrote "Paradise lot" used (re-using insulating foam for the non-transparent sides of the greenhouse) works similarly for an aboveground greenhouse. The only difference is that you'd have to add thermal mass to your aboveground greenhouse yourself. That's where all those IBC's come in handy.