
Experimental pond sealing, phase 1
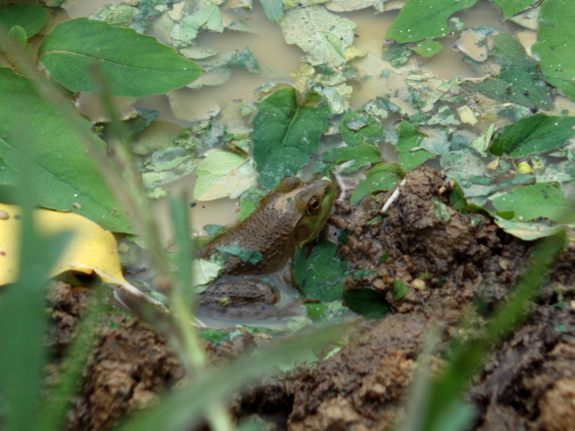
Although a little
frog moved into my pond
excavation overnight, I know the water level is currently
dependent on groundwater height. In other words, if it ever
stops raining constantly, our groundwater will drop and our "pond"
will dry up. Time to experiment with sealing the pond!
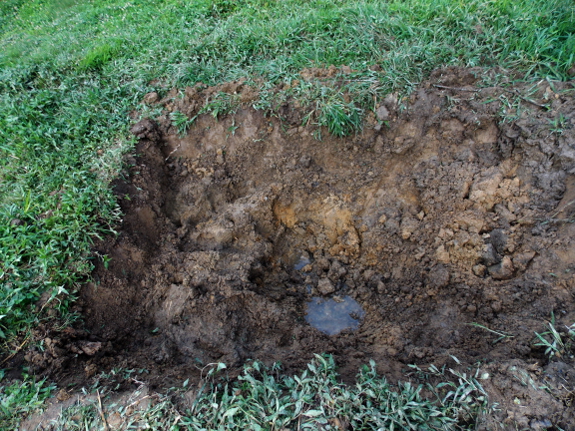
From what I've read,
the first step in making a liner-less pond that will stay wet is
to choose the right area where the soil is rich in clay and the
groundwater is high. That part's easy in our swamp. As
I dug my hole Saturday evening, I could tell I was hitting
groundwater because the mud on my shovel became nearly too heavy
for me to lift. An hour after stopping, water was already
trickling in to fill the hole.
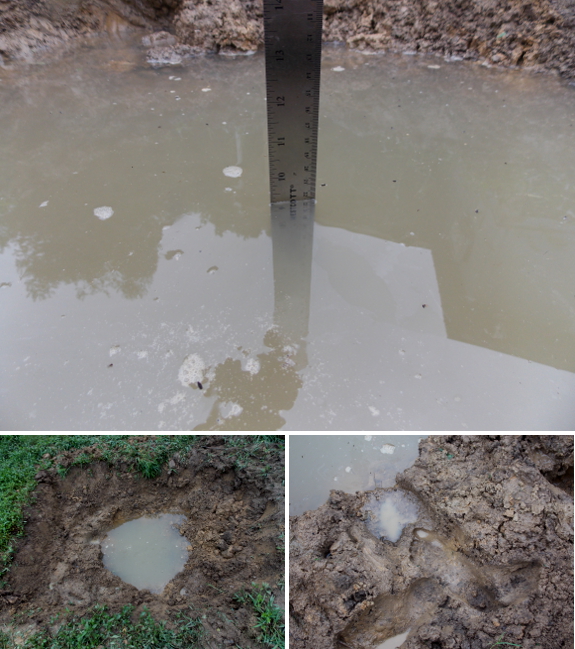
By Sunday morning,
the pond had filled to a depth of nine inches. It did rain
in the night, but only lightly, and I'm sure the majority of this
water simply seeped into my pit through the walls.
Found water is
exciting, but I want my pit to hold water even during
droughts. And I'd prefer it to be fillable above the
groundwater level. In Earth
Ponds, Tim
Matson reports that most liner-less ponds nowadays achieve their
water-holding abilities by compacting the soil with heavy
equipment. But before we had bulldozers, people were still
building ponds. As the water slowly seeped into the hole,
these old-timey farmers turned livestock into the pond area and
let them trample the mud with their hooves, sometimes adding hay
and/or manure to combine gleying action with the
compaction. They often had to repeat the procedure at
intervals as water levels rose.
We don't have a handy
herd of cattle (and I don't think you could fit even one cow in my
little hole), so I decided to mimic their action myself.
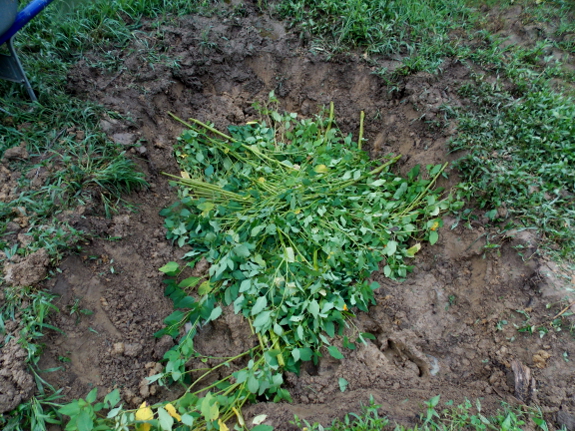
Rather than hay, I tossed in an armload of jewelweed...
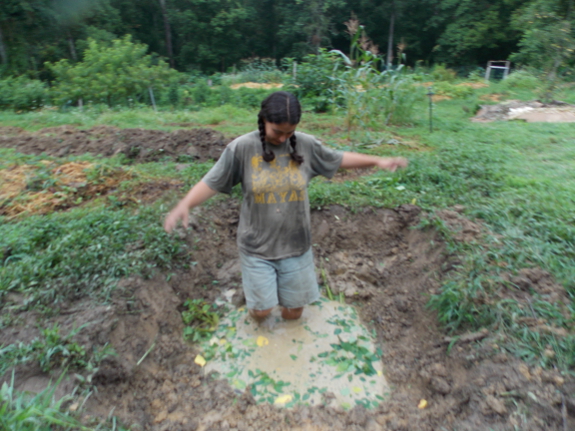
...and jumped in to
trample the organic matter into the mud!
Here's where I
realized one flaw in my pond design. I wanted to make the
bottom deep and to provide a shallower ledge around that center
for emergent plants, but my pond is too small to provide a gentle
slope between the two levels. As I trampled, I realized I'd
be able to seal the bottom of each tier, but not the steep walls
in between. We'll see if this dooms my project to leaky
failure.
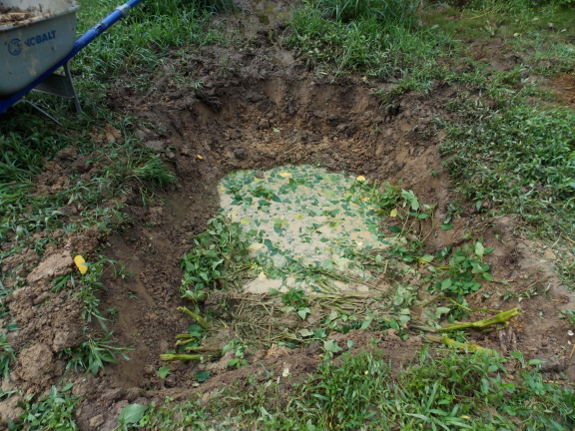
Here's my jewelweed
fermentation pit after trampling an armload of greenery into the
water-holding portion and another into the soggy tier closest to
the camera. If the water level continues to rise, I'll
repeat the endeavor with other parts of the pit.
I'm having fun
experimenting with small-scale pond sealing, but I'm also prepared
to change over to a liner if necessary. In my mind, this
pond is already full of lotuses, arrowheads, and goldfish, and I'm
prepared to drop $100 to make that happen.
Want more in-depth information? Browse through our books.
Or explore more posts by date or by subject.
About us: Anna Hess and Mark Hamilton spent over a decade living self-sufficiently in the mountains of Virginia before moving north to start over from scratch in the foothills of Ohio. They've experimented with permaculture, no-till gardening, trailersteading, home-based microbusinesses and much more, writing about their adventures in both blogs and books.
Want to be notified when new comments are posted on this page? Click on the RSS button after you add a comment to subscribe to the comment feed, or simply check the box beside "email replies to me" while writing your comment.
- Remove comment
 If the sides do start to leak, though, I might go back and get strong-armed Mark to use a tool like that there.
- Remove comment
- Remove comment
- Remove comment
