
Cutting scionwood for a cleft graft
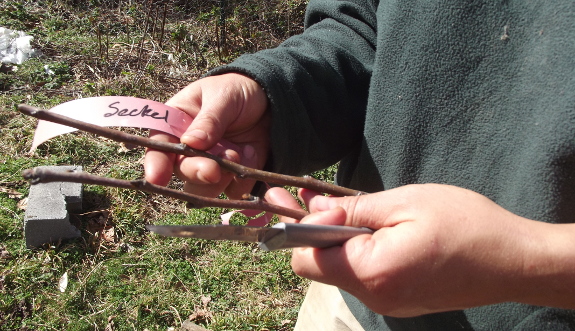
My first step after
deciding to topwork my two pear trees was to
find scionwood. I wanted to try specific varieties, so I ordered
some from Burnt Ridge Nursery, but you can also get scionwood from a
neighbor's tree if you know you like the taste and habits of their
fruit varieties. The best scionwood is about the thickness of a
pencil, is from last year's growth, doesn't contain flower buds, and
does contain two or three leaf buds. Longer scionwood is fine,
and gives you some wiggle room in case you make the first cut wrong ---
you can always shorten it to three buds later.
Although you should wait
to prepare your official scionwood until it's ready to go into place
(Thursday's post), raw beginners like me should practice first so we
become relatively adept at our cuts before working on the limited
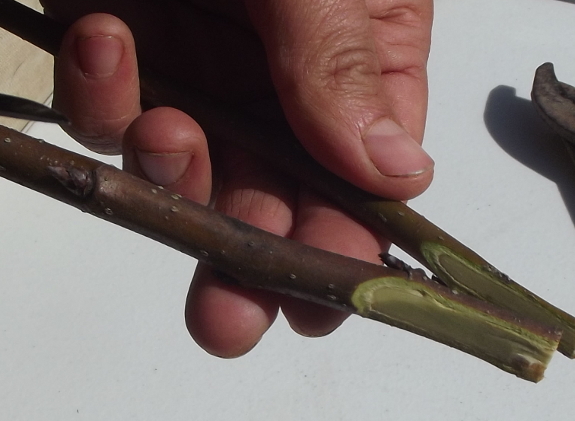
scionwood. Grafting cuts should always be as straight as
possible, which means you should try to make them with a single cut
rather than "whittling" --- fixing incorrect cuts by making two or
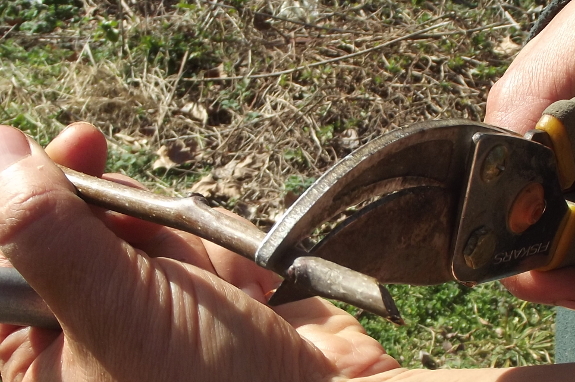
three more cuts. The photo above shows some of my early practice
strokes --- you can see the curves that result from whittling.
 Luckily for me, I had plenty
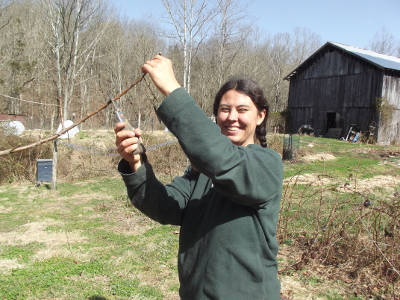
of wood to practice on. I planned to cut the whole top off my two
small pear trees and insert new scionwood in a cleft graft, so nearly
all of the twigs on the tree were fair game.
I actually practiced on
a little walnut tree I needed to cut out of the yard first, but soon
discovered that different trees' twigs behave very differently.
If you're going to graft a pear tree, practice on some pear twigs; if
you're going to graft an apple, practice on an apple.
 So, what did I want my cuts
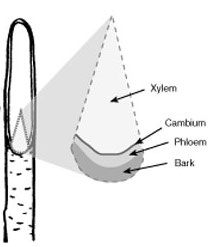
to look like? The easiest grafting cut is for a whip graft, where
you attach two twigs of the same diameter together. That kind of
graft simply requires a long straight cut so that the scionwood comes
to a point, as is shown in the drawing to the left.
For my cleft graft, I
needed to make a slightly more complex cut. I wanted to turn the
base of the scionwood into a wedge by making two angled cuts. To
complicate matters further, the wedge needed to be pie-shaped in
cross-section, with the side containing the lowest bud larger than the
other side of the twig. This sounds complex, but wasn't really
that hard to cut, once I wrapped my head around the goal.
Time to start
cutting! Grafting teachers always warn you to make sure the buds
point up, which seems ludicrously obvious to me, but maybe folks not as
tuned into plants need to be told that? Once you turn your
scionwood right side up, decide which spot will be the bottom of your
cut. I learned the hard way that you won't get a nice, straight
cut if you try to go through a node (where the buds are), so I cut my
scionwood off just above a bud.
It's best if you also
choose a spot where the internode (length of wood between two buds) is
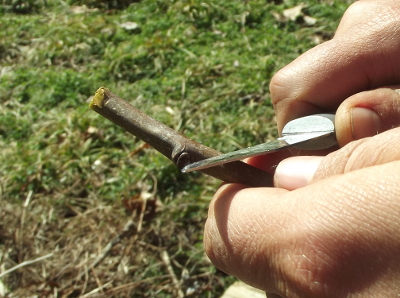 relatively long since your angled cut should be at least an inch long,
preferably 1.5 to 2 inches. Longer cuts give your scionwood a
better chance of merging with the growing tissue of the tree it's being
grafted onto.
Now find a good sharp
knife (I used our chicken butchering knife, recently sharpened) and
make your first test cut. Remember, you don't want to whittle, so
you should create the wedge shape at the bottom of your piece of
scionwood in two quick cuts. Once you try it a time or two,
you'll see why I told you to practice on a twig you didn't care about.
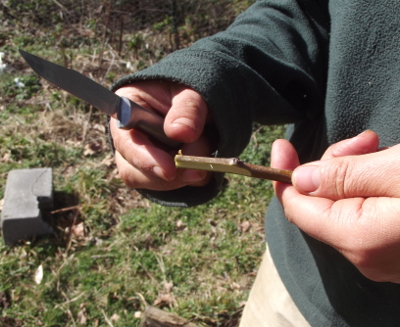 After making Mark stand
around in the sun and watch me whittle for about fifteen minutes, I
started to feel like my cuts were going more smoothly. Time
to move on to the next step --- preparing the tree to be grafted
onto. Stay tuned for tomorrow's post to learn tips in that
department.
| This post is part of our Grafting Experiment lunchtime series.
Read all of the entries: |
Want more in-depth information? Browse through our books.
Or explore more posts by date or by subject.
About us: Anna Hess and Mark Hamilton spent over a decade living self-sufficiently in the mountains of Virginia before moving north to start over from scratch in the foothills of Ohio. They've experimented with permaculture, no-till gardening, trailersteading, home-based microbusinesses and much more, writing about their adventures in both blogs and books.
Want to be notified when new comments are posted on this page? Click on the RSS button after you add a comment to subscribe to the comment feed, or simply check the box beside "email replies to me" while writing your comment.

To be sure, buds up is ludicrously obvious, as buds down is obviously ludicrous.
And I have two black thumbs.
} j {