
Building a better worm bin
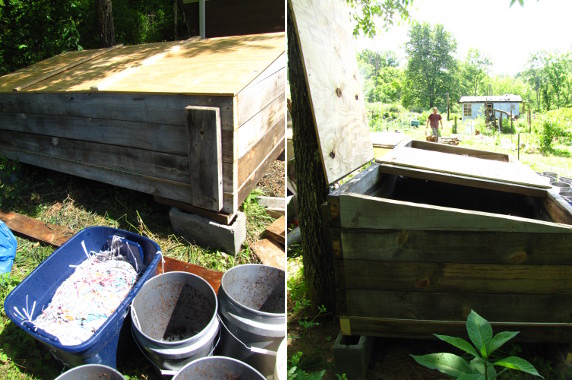
 Our readers are very kind not
to call us cuckoo for overbuilding
our worm bin when we
intentionally
underbuild so many
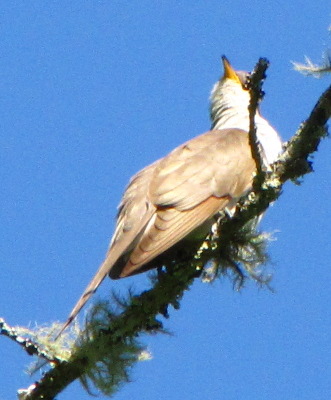
other parts of our farm. (Yes, that sentence is an excuse to
include this bird photo I took while trying to tempt our more skittish
cat out of a tree on
Friday.)
The main incentive for
building an elegant worm bin that will last a hundred years is that we
had some hefty,
free lumber lying
around. But we also decided to take the opportunity to correct
the problems we've noticed in midscale
worm bin version 1.0 over the last year. That's the great
thing about underbuilding the first time around --- you generally get a
second stab at the problem a few years later once you've figured out
exactly how you want to tweak the project to fit your own needs.
(Verison 1.0 is still in
use, by the way --- the Cadillac is merely an expansion of the
vermiculture operation. I'll give you more details of what's
going inside both bins in a later post.)
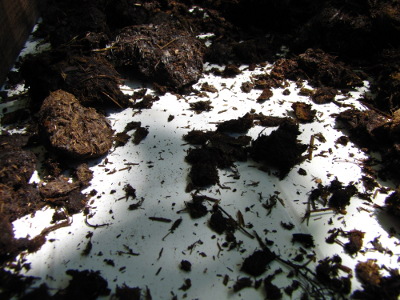 You can see a
supply list and construction notes for our first midscale worm bin here. Version 1.0 was
quick, dirty, and cheap and it (mostly) worked, but the design was
clearly flawed. I thought I'd be able to collect
worm tea, but in
reality, this large worm bin didn't make any liquid (or at least not
enough to collect), so we ditched the false bottom when making our
second bin. Meanwhile, Mark got the bright idea of adding
showerboard to the floor of version 2.0 in hopes of delaying wood rot
in this dampest portion of the bin. Since we didn't want to
pierce the showerboard, that left us without aeration
 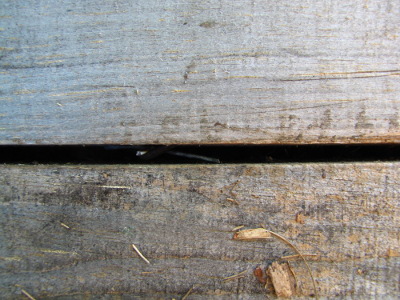 holes, so our helper
suggested spacing the boards that make up the sides about a quarter of
an inch apart to give lots of room for air movement.
From a purely ergonomic
standpoint, I seldom opened version 1.0 because an 8 by 4 foot sheet of
plywood was simply too heavy and ungainly for me to easily handle, even
on hinges. So our helper split the lid on this new worm bin into
thirds, adding braces to the inside of the bin to prevent the second
lid problem we'd noticed --- warping of the plywood. (You can see
the lids well in the top right photo in this post.)
 So
far, the only slight problem I've had with the bin is opening the
middle lid --- my arms aren't quite long enough to really open it all
the way. I suspect we'll find more flaws as we use the bin, and
will make version 3.0 even more efficient. For the moment,
though, Mark and I are both so pleased with our Cadillac worm bin that
we go visit it from time to time and I even dreamed about it Thursday
night. Quite a lot of excitement for our quiet farm!
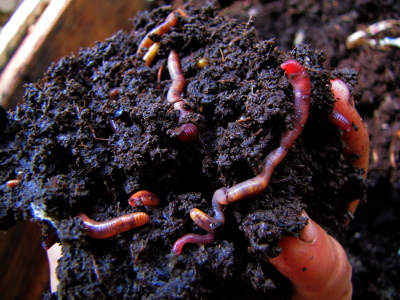
Imagine how ecstatic we'll be when we actually seed the bin with worms.
Want more in-depth information? Browse through our books.
Or explore more posts by date or by subject.
About us: Anna Hess and Mark Hamilton spent over a decade living self-sufficiently in the mountains of Virginia before moving north to start over from scratch in the foothills of Ohio. They've experimented with permaculture, no-till gardening, trailersteading, home-based microbusinesses and much more, writing about their adventures in both blogs and books.
Want to be notified when new comments are posted on this page? Click on the RSS button after you add a comment to subscribe to the comment feed, or simply check the box beside "email replies to me" while writing your comment.
- Remove comment
- Remove comment
