
archives for 09/2018
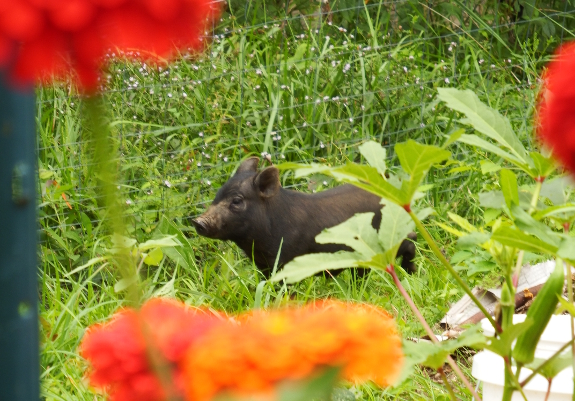
So far, our
garden fence has been doing its job admirably. Sure, birds get in,
and I'm pretty sure a squirrel has been invading to gnaw seeds out of
my tomatoes. But the deer --- our area's major garden predators ---
nibble right up to the fenceline then stop.
Imagine my surprise when
I heard a strange, hoarse squealing coming from the direction of my
broccoli and zinnias last weekend. I peered out the window...then
yelled Mark's name so loud he thought someone was dying.
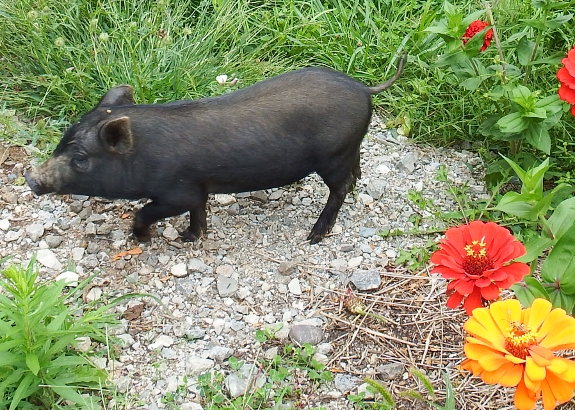
The problem turned out
to be an extra-small pig in our garden. I'm guessing it found its way
in under the gate.
Luckily, I saw the pig before it could do much damage, and we chased it
out to rejoin three other piglets roaming the road. A couple of hours
later, a pickup truck cruised by then the livestock were gone. If
they'd stayed around much longer, we would have had to beef up the
bottom edges of our fence!
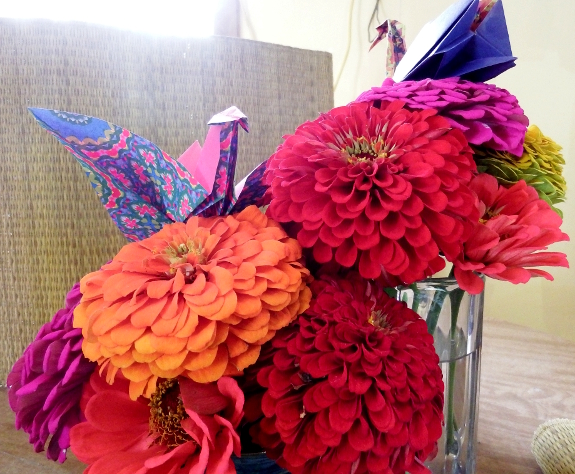
The fancy zinnia seeds
we bought this year turned into colorful flowers so stunning that I
thought for sure they were hybrids. But the website I got them from
listed them as "open pollinated," so I decided to try saving some seeds.
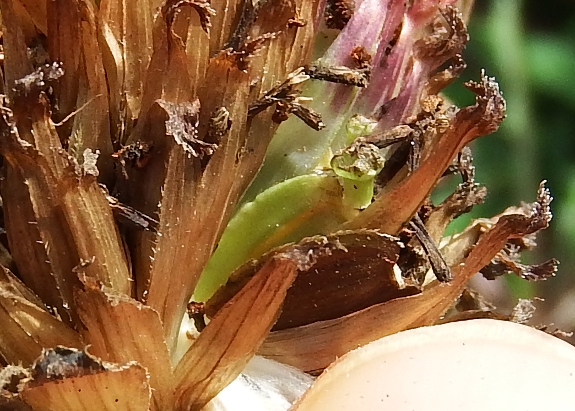
It's pretty easy to tell
when zinnia seeds are ready. Just pry apart one of the dead, brown
heads and look at the color of the seeds. Are they green like the top
one in this picture? If so, they need a little more time. Brown like
the bottom one in this picture? That seed is ready to save!
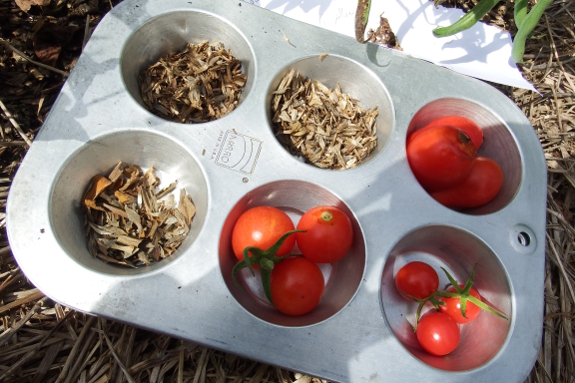
My gut says that all of
the flowers I have in my garden will have cross-pollinated, but it's
possible that's not the case. So I decided to save each color
separately --- time to pull out the muffin tins!
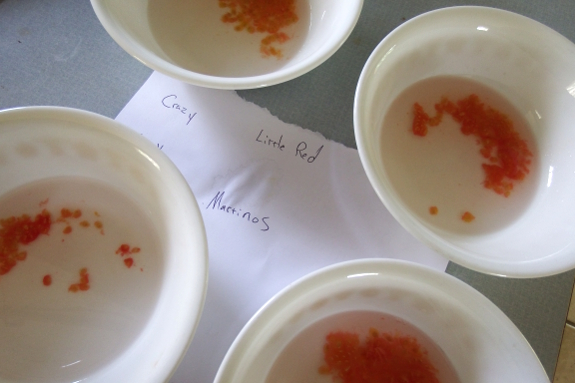
The tomatoes in the
previous image were being divided up by variety also, but just for the
trip into the house. There, I set each variety up to ferment as
outlined in Weekend Homesteader: August. A few days later, both
types of seeds will be ready to pack away for next year's garden.
 The first seventy-two hours
after his
surgery were
pretty rough, but Mark becomes more spry every day. On day four, he
went off the heavy-duty painkillers, and by day six he felt well enough
to drive to the filmmaking class he's taking at Ohio University.
The first seventy-two hours
after his
surgery were
pretty rough, but Mark becomes more spry every day. On day four, he
went off the heavy-duty painkillers, and by day six he felt well enough
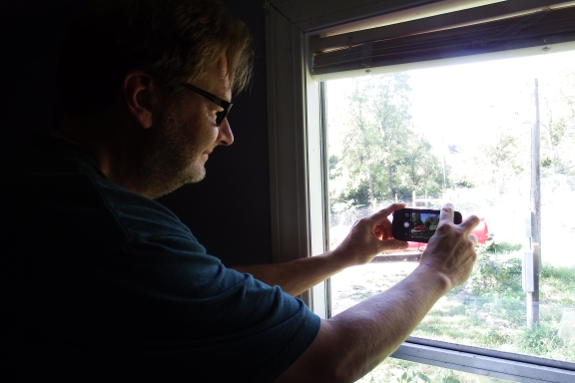
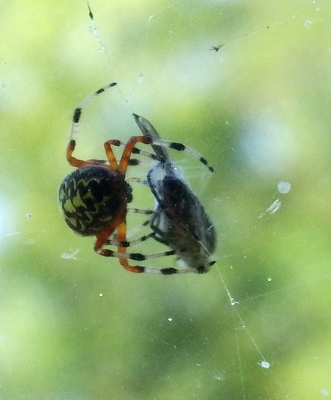
to drive to the filmmaking class he's taking at Ohio University.He's still moving very carefully and is barely back up to light duty. However, his good humor and interest in the world are back in focus...just like this photo of my pet spider and its massive lunchtime fly.
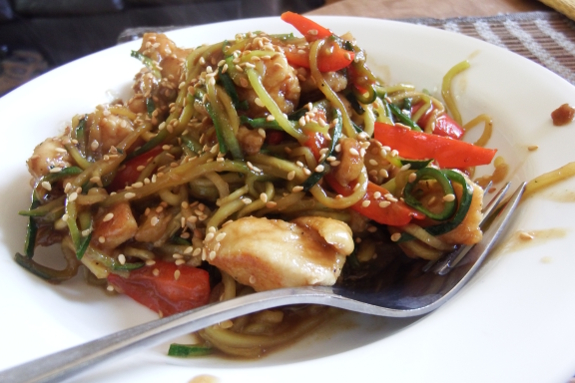
On the menu this week
--- sesame
chicken over a bed
of spiralized
zucchini, with homegrown sweet peppers and Egyptian onion tops for
accents.
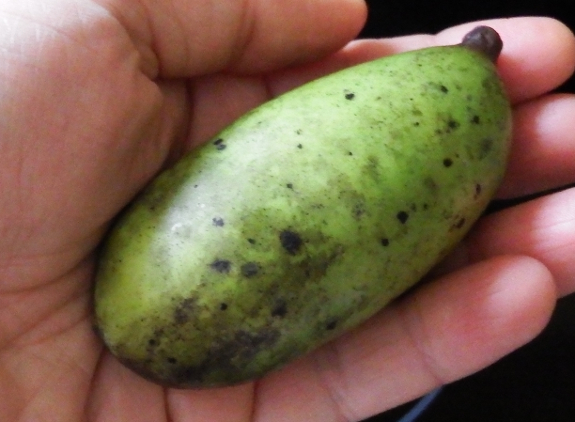
Dessert came from the
park --- wild pawpaws. The groves have been smelling so sweet all week
that I felt like I was walking through a perfume factory so I figured
I'd give one a try even though pawpaws are among my least favorite
fruit.
Mixed with homegrown red raspberries, the flesh was much more
appealing than I remembered. I'm looking forward to learning more
recipe ideas at the Pawpaw Festival, coming up this time next week.
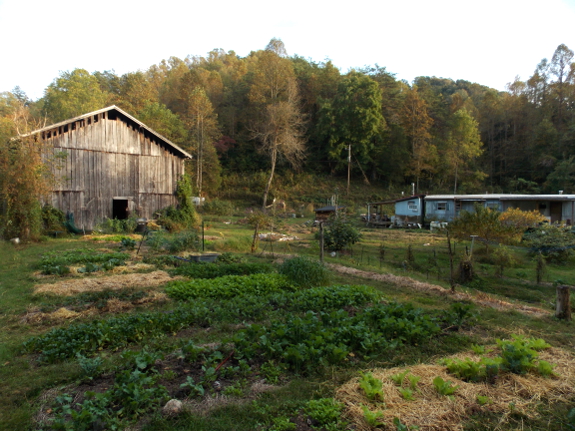
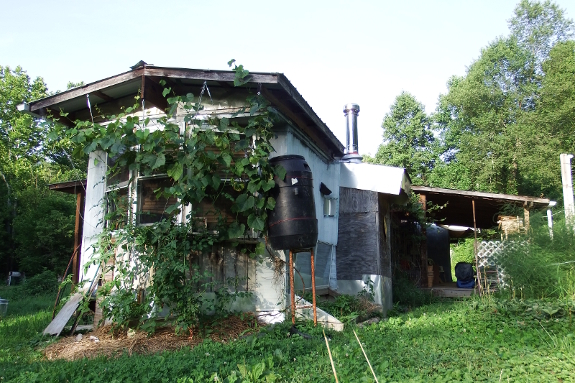
If you've read Trailersteading, you'll know what I mean
when I say that our Virginia homestead is an ugly duckling property.
This type of unique real estate is often economical to purchase, can be
wonderful to live on...but isn't particularly easy to sell.
We've tried out three
different methods of finding our farm a new owner and have opinions on
each. If you're selling a similar property, perhaps our ideas will help!
Option
1: Sell it to your neighbors. They say that the number one
rule of real estate is location, location, location. Which means your
neighbors --- who've already put down roots right there --- are an
obvious audience to sell to. We actually had some interest from one of
our neighbors (plus a low-ball offer from a local timber baron), but
ended up running through this avenue pretty quickly. It's still worth a
try, though!
Option
2: Go traditional with a realtor. With a conventional
property, I suspect this is the way to go. Ugly duckling properties,
however, are often hard to finance through a bank and mainstream
realtors don't really know what to do with them. Plus, realtors take a
hefty percentage, so the price has to remain high.
If I had to do it over again, I might have moved this option further
down the list and waited until we gave up on selling the property on
our lonesome. On the plus side, most realtor contracts are
time-limited, so if it's not working you can just wait until the
contract expires.
Option
3: Go unconventional with owner financing. This seems to be the more
realistic option since you're likely to be attracting most potential
buyers yourself if your property doesn't fit the conventional mold.
We're currently giving this option a try and may have found someone
just crazy enough enjoy our floodplain.
No money has yet changed hands, however. So you can still peek
at our listing if
you want to throw your hat into the ring.
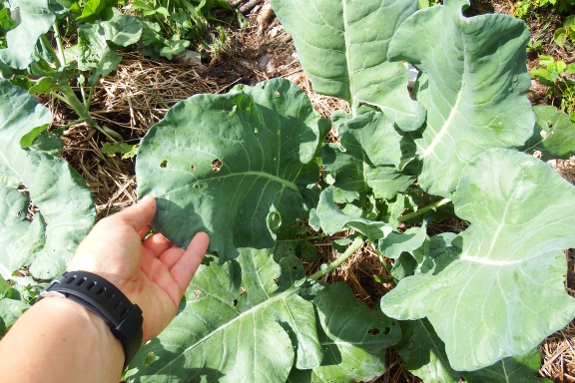
What's the biggest
lesson I've learned from year one in a new garden
spot? Don't put all of your soil fertility/amendment eggs in one basket!
Broccoli shows this
best. The plant above was set
out into a newly kill mulched bed using half-composted horse manure.
Not an optimal soil environment by a long shot. But I planted the
broccoli sets pretty deep, down into the native soil. And one month
later they're huge and thriving, ready to start forming big, beautiful
heads.
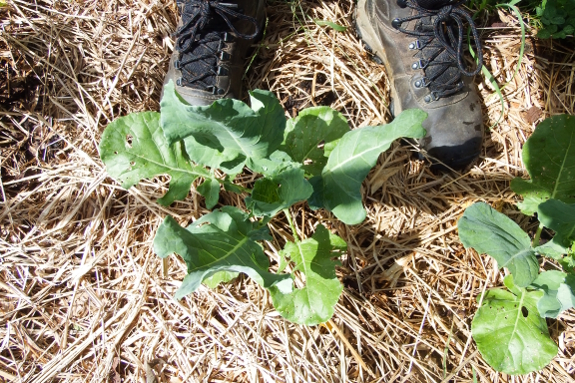
In contrast, the image
above shows a broccoli plant of the same variety started inside at the
same time and set out at the same time. This one went into a more
mature no-till bed too...except the "compost" I'd put on top of that
kill mulch was very low-nitrogen municipal compost. I won't be buying
that stuff again.
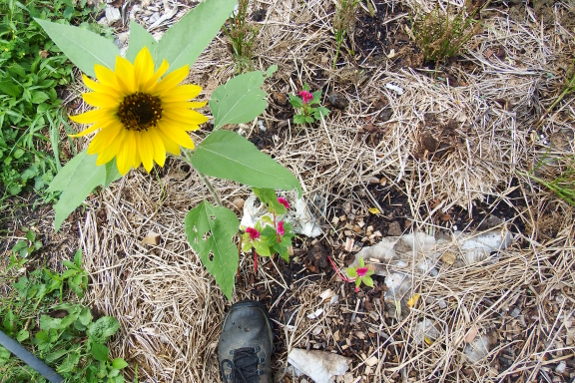
Lest you think I was
just cherry picking those broccoli photos, take a look at some flowers
in two different parts of the garden. Above, a sunflower that bloomed
at knee high plus cock's comb flowers barely as big as a dime. I'll bet
you can guess what they were growing in --- municipal compost.

And a much more
satisfying cock's comb growing in a mixture of very well-composted cow
manure and topsoil. The sunflowers in this part of the garden are
towering over my head.
In a few years, cover crops plus regular manure/compost additions will have
built up a buffer of nitrogen and organic matter that will make it
harder to tell when amendments are hindering instead of helping. So I'm
glad we spread our net widely this year to try out most of the local
offerings when the ground is hungry and shows results fast!
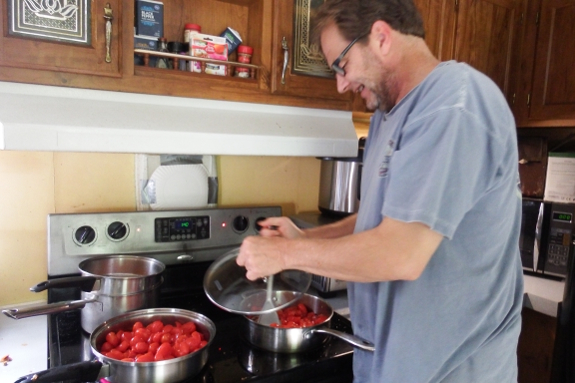
Mark has been feeling a lot better. So much so, in fact,
that he wanted to dive into a wood-stove-alcove project immediately. I,
on the other hand, want his innards to heal a little more before he
starts hefting heavy lumber. So we compromised on a new project ---
learning how to cook!
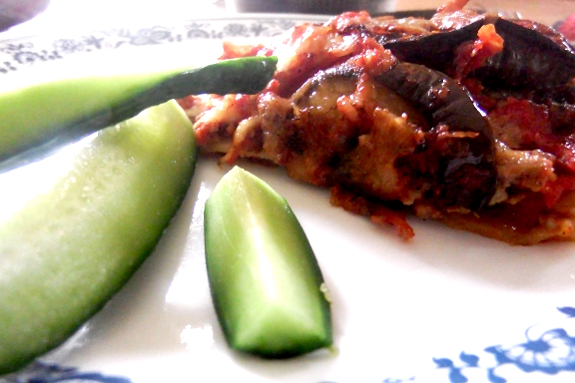
One of Mark's favorite
foods is eggplant parmesan. And, at the moment, our two plants are
ripening up at least three fruits per week. Time to let Mark put his
creative juices to work creating an even better recipe to use up these
purple vegetables.
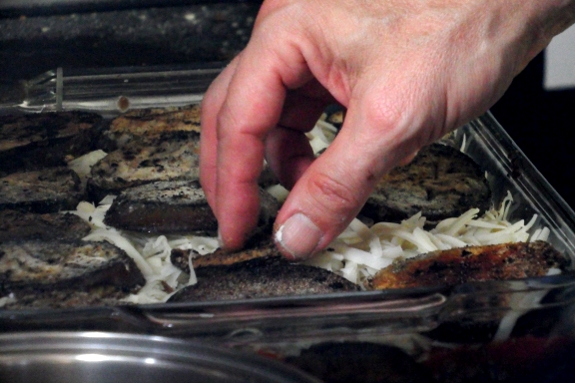
He opted for an eggplant
parmesan/lasagna combo. Fried, breaded eggplants, then homemade tomato
sauce, then one layer of lasagna noodles, one pound of cooked hamburger
meat, a sprinkling of parmesan combined with rather a hefty helping of
shredded swiss, then another layer of eggplant, another layer of sauce,
and another layer of cheese.
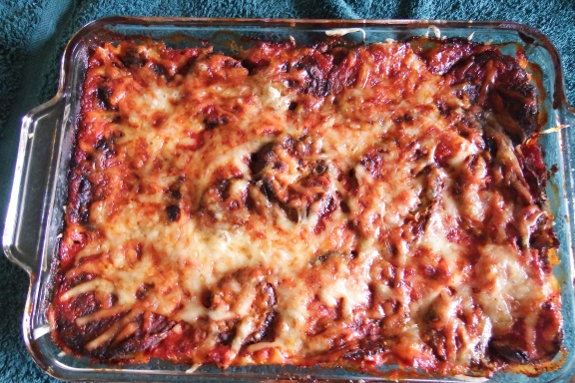
Conclusion? Delicious! I
can hardly wait to see what he comes up with next week.
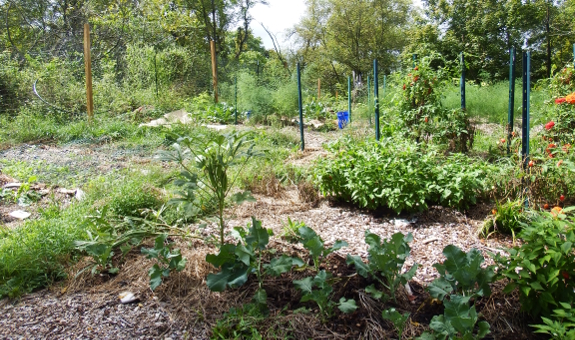
Last weekend, we got 4.5
inches of rain in two days and the garden started growing like nuts.
This confirmed what I'd already suspected --- despite my compost
troubles, water was
the primary limiting
factor in this
year's garden.
I've only been hand
watering enough to get new transplants and 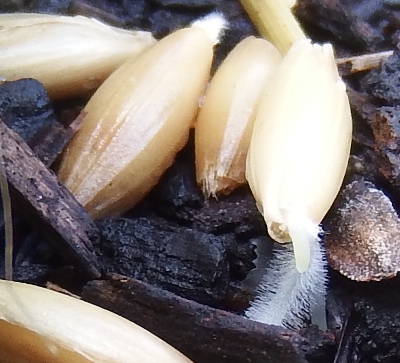 seedlings up and running.
And, honestly, I hadn't even really been doing a good job of the latter.
The stumbling block was
twofold. I don't want to use too much water on the garden before we
installed rain barrles. And I was actually a bit glad to use water as a
limiting factor keeping garden work (aka weeding) down to a dull roar
during year one.
Excuses aside,
irrigation will definitely be on the agenda before next summer. Because
now that we're a bit more established, I don't mind weeding if it means
harvesting three times as much delicious, homegrown vegetables and
fruit!
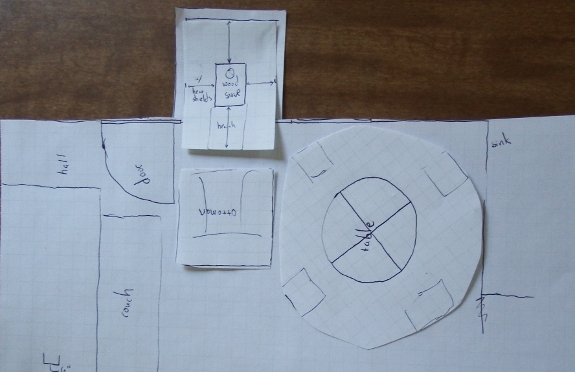
"We can at least plan the wood-stove alcove this
month, right?" asked Mark.
"Sure," I replied. "But
what size should it be? Four
by four like our last one? Four by eight? Or eight by
eight?"
"Eight by eight," Mark
stated decisively.
That sounded pretty big
to me, so I pulled out the graph paper and mocked up our options. Four
by four turns out to be just barely big enough for the wood stove
itself using heat shields to protect the walls. I should have known
this since it's exactly what we made before.
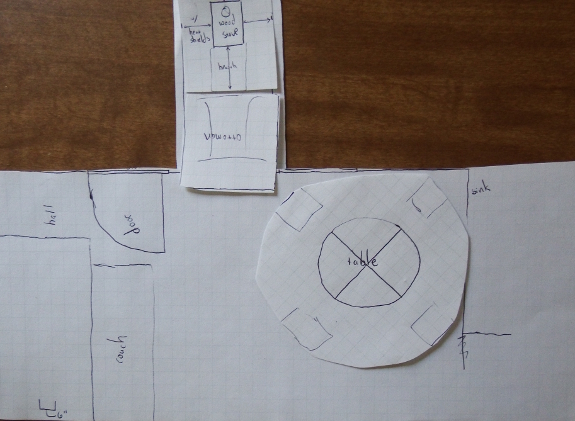
Four by eight would let
me stuff my chair in there along with the wood stove to prevent
obstructing the door.
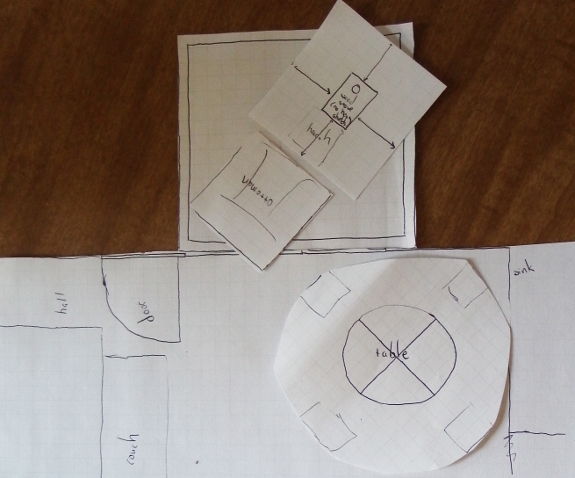
While eight by eight
provides a spacious alcove, especially if the wood stove is inserted at
a diagonal.
As usual, Mark was
right. I wonder if I should ask him the next question --- where the
windows go for optimal winter sun intake --- or do the math myself?
I'll probably do the math. That sounds a lot more fun!
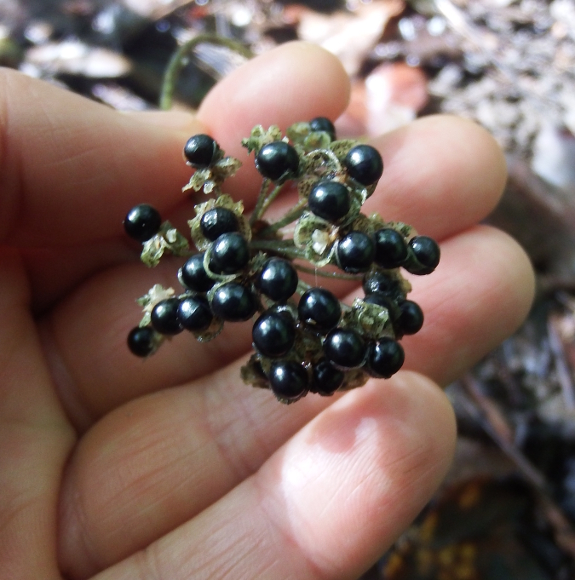
I made a mental note of
the location of the ramps patches this spring, planning to check them
for seeds in the autumn. Luckily, the patches are on my usual weekly
routes because I'd forgotten all about my good intentions when these
clusters of hard seeds (not berries as they appear) showed up atop
four-inch-high stalks.
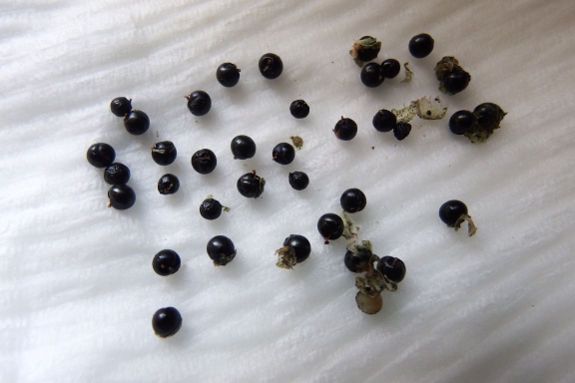
I gathered a few dozen
to experiment with, then hit up the internet for more information. Most
people, it seems, use hit-or-miss wild germination, spreading the seeds
in their woods in late summer or early autumn. Using that method,
seedlings usually show up in six to eighteen months.
I decided to get more
scientific about it however. Looking through the literature, it appears
that ramp seeds don't require scarification (breaking through the seed
coat using manual methods or acids). Instead, the deal is that they
need four to ten weeks at room temperature to get the roots to emerge
followed by who-knows-how-long in the fridge to get the shoots to pop
out.
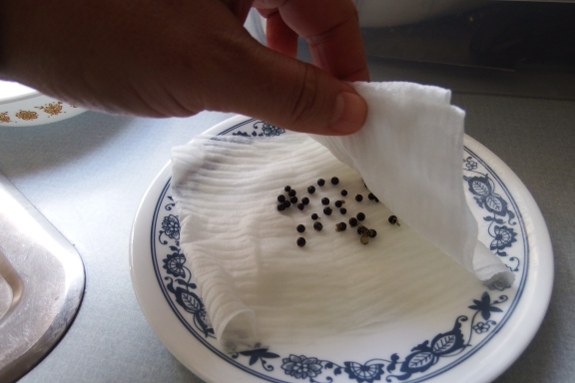
I made a sandwich out of
four layers of damp toilet paper between two saucers and put the seeds
on the counter to see how my own results match up to those found under
more sterile conditions in the lab. I'll keep you posted about
whether/how my ramps grow!
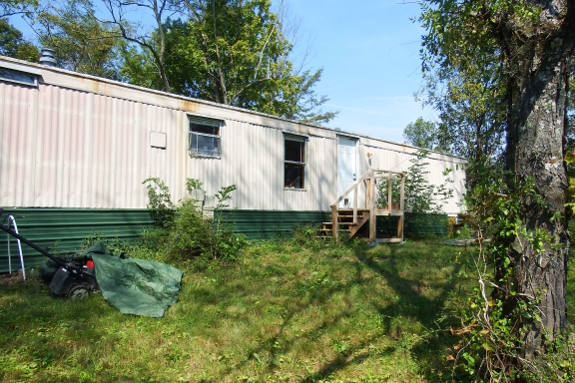
After deciding on the
size of our eventual wood-stove alcove, the next question became
--- how much do we want to overcomplicate the design for the sake of
passive solar heating? Because this trailer isn't lined up as nicely
north-south as our previous one. Instead, the photo above shows the
view from due south.
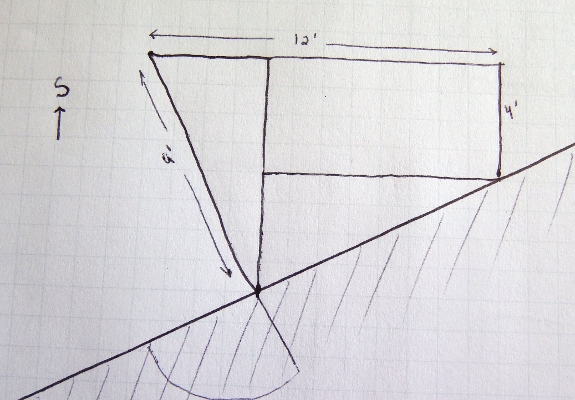
One option is to stick
to the easy square and put windows on both the southeast and southwest
sides, coming up with some kind of shutters to cover the southwest ones
during the summer months. Another option would be to use a rectangle
and two triangles to cover the same surface area but make the addition
face due south.
I'm still cogitating on
whether the triangles would make floor joists and wall angles too
difficult. What do you think?
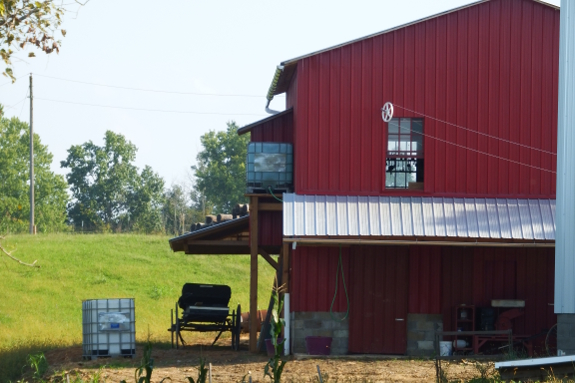
Mark, Rose Nell, Jayne,
and I dropped by an Amish-affiliated produce auction last week...and of
course I was more interested in rainwater collection on the nearby
buildings than in the products for sale.
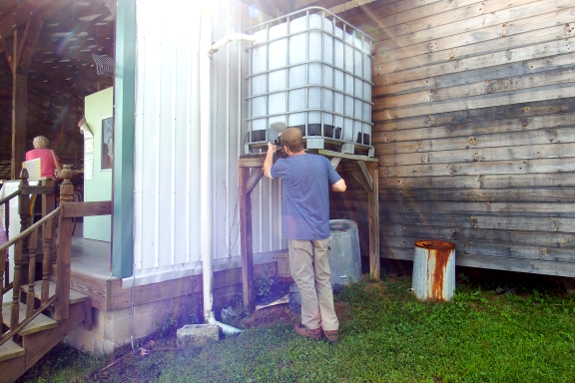
IBC tanks were very much
the rain barrels of choice in the community. The builders didn't brace
their tower nearly as much as we
did ours though.
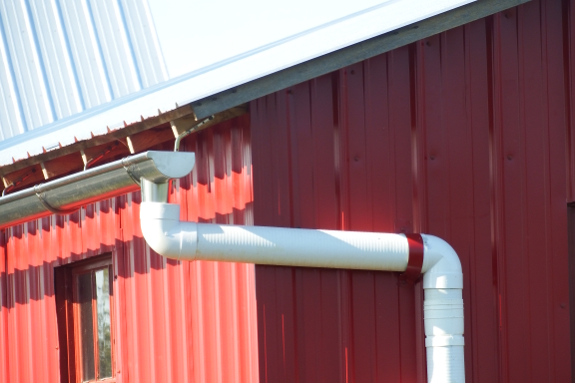
Gutters, on the other
hand, looked to have serious longevity. I think those are stainless
steel on heavy-duty hangers, then the downspout is clearly PVC.
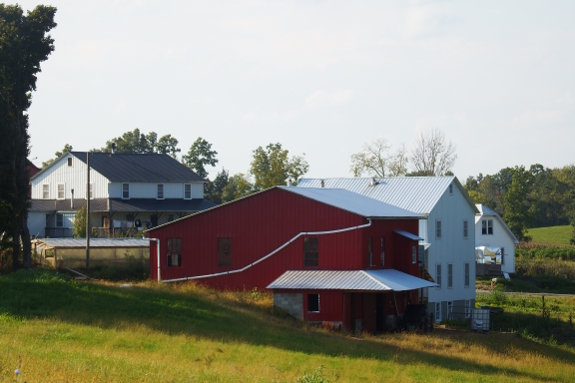
Here's a long view from
the other direction. I'll bet the residents put every drop of that
water to good use.
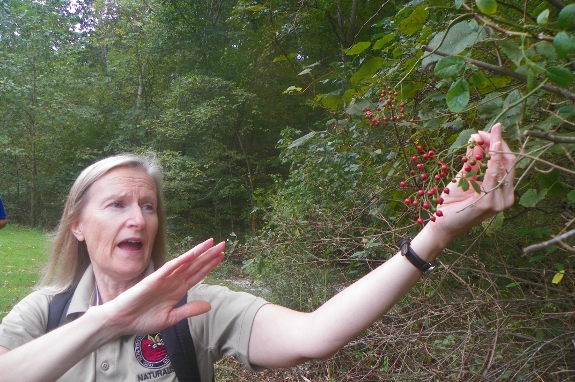
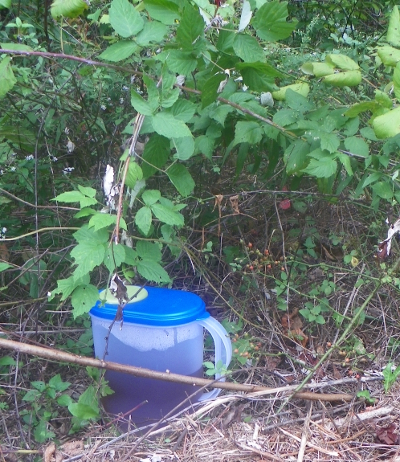 Jenn and I enjoyed an inspiring
naturalist-led hike at Burr Oak State Park on the equinox. Our fearless
leader not only brewed teas for us to taste, she also stashed jugs of
the refreshing liquid along the trail so we could sample each type as
we ambled along.
My favorite was
spicebush, made from the berries, twigs, and leaves of the
aforementioned bush. I hadn't known the berries were edible, but it
turns out you can cook them up into jam. I sampled one on its lonesome
and found it too strong for fresh eating, although the first bite had
hints of avocado and was intriguing to me.

 Runner-up teas included sumac
(from the berries), sassafras (from the roots --- too strong for my
tastes), and multiflora rose (from the hips --- very mild and I would
have liked to taste it without the sweetening).
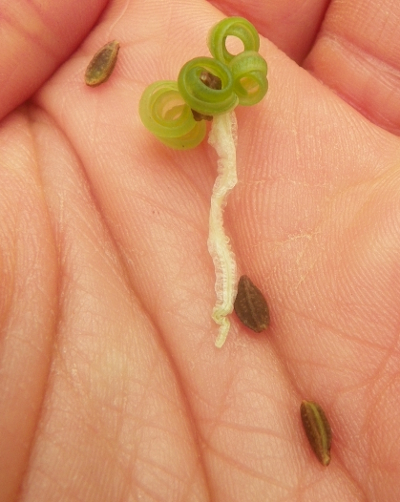
We also sampled
jewelweed seeds, which were nutty but had too much of an aftertaste for
me and Jen. The green seeds weren't quite so strong and might be a
better start. Perhaps that's what the
chickens preferred
too?
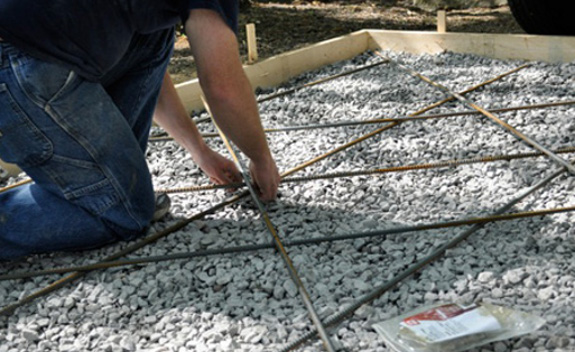
We are leaning towards a
concrete slab for our new wood stove addition.
Our small slab will need .79
cubic yards of concrete which would cost a little over 200 dollars. We
could avoid a 75 dollar delivery fee by ordering the 3 cubic yard
minimum for 411 dollars. Then we would need to dream up a concrete
project to use the other 2.11 cubic yards of concrete.
The picture is not us and was
stolen from oneprojectcloser.com.
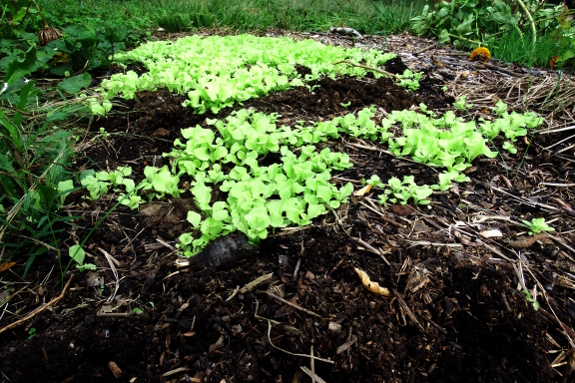
Planting season for 2018
is now officially over. My stomach still can't handle garlic, so we
skipped that previous crowd pleaser. But it's now too late to plant
pretty much anything else outside a greenhouse, the last beds of
lettuce and spinach (to go under quick hoops) having been seeded
earlier this week.
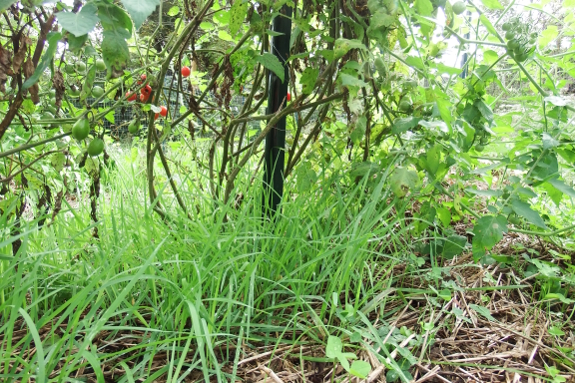
Which isn't to say we
don't have plenty still growing. In addition to the remaining summer
crops, fall beds are lush with new kale, swelling carrots, bulbing
brussels sprouts, and heading broccoli. Meanwhile, the oat cover crop I planted in gaps
and beneath ailing tomatoes is up and running, promising to improve the
soil with no additional effort during the autumn and winter months.
Purple Passion Asparagus has
grown twice as high as the regular asparagus.
At this rate we might be able
to safely harvest some in the Spring of 2019.

As much as I love big
walls of windows, I suspect Roland is on the right track. Optimal
passive-solar design would likely involve one window for a view
combined with multiple passive-solar wall panels for cold-weather
heating.
And I'm glad he passed
on that in-depth writeup, too, because my understanding of
passive-solar wall panels was seriously old-school. The angled fins
make a lot of sense (for geeky reasons explained in depth at the
website above), as does the vertical orientation and the use of
UV-protected
twin-wall polycarbonate sheets instead of glass.
The only problem is that
the in-depth design starts to make this look like a project that
wouldn't get done before serious cold weather hits. So I did some
googling and found this
panel that includes
the angled fins, at least, if not some of the other features. We'll
have to digest on it a little and decide whether the high price tag is
worth getting the unit installed this year.

We like Roland's suggestion
about building a Rocket Stove Mass Heater.
It seems like a clever way to
get more heat from less firewood.
Maybe we would give it more
consideration if we had not fell in love with our Jotul wood stove. Plus
the Jotul F 602 serves double duty as "Fire Therapy" where the Rocket
Mass Heater feels more like a chore to operate properly.
Image credit goes to
naturalhomes.org.
Want more in-depth information? Browse through our books.
Or explore more posts by date or by subject.
About us: Anna Hess and Mark Hamilton spent over a decade living self-sufficiently in the mountains of Virginia before moving north to start over from scratch in the foothills of Ohio. They've experimented with permaculture, no-till gardening, trailersteading, home-based microbusinesses and much more, writing about their adventures in both blogs and books.
